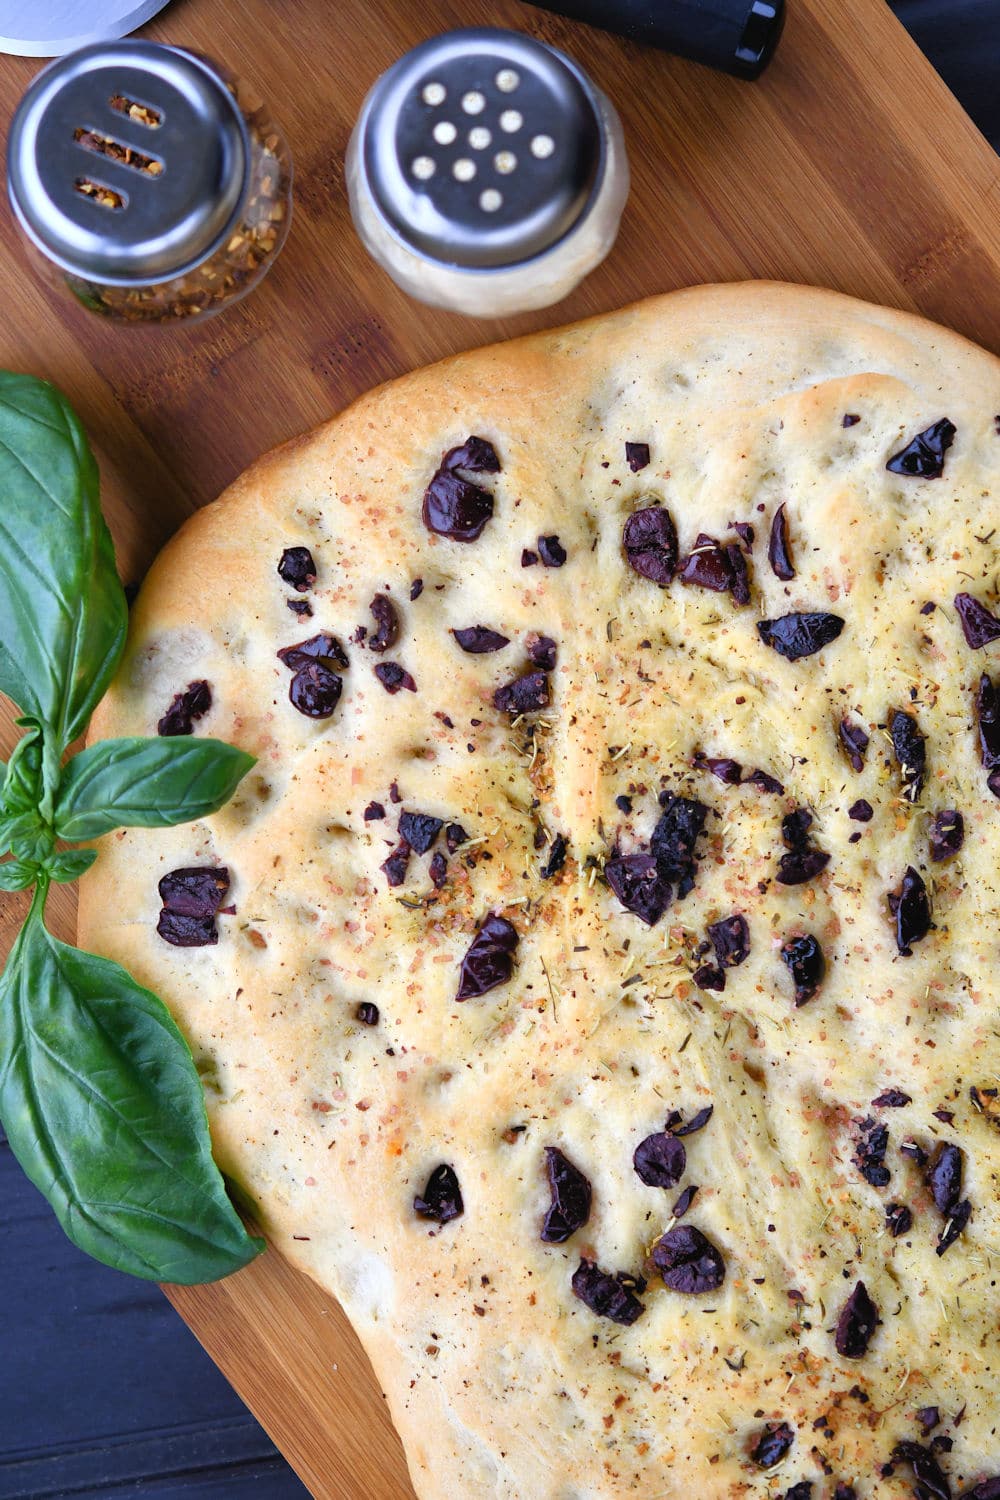
Learning how to make focaccia bread with a standing mixer is a lot easier than you may think! With just a few pantry ingredients, you can have a delicious focaccia with your next meal. Bread machine instructions included.
Recipe | Ingredients | Focaccia Bread Toppings
Ingredients
When you learn how to make focaccia bread, you will only need a few primary ingredients.
- All Purpose Flour
- Sugar
- Yeast
- Salt
- Olive Oil
- Warm Water
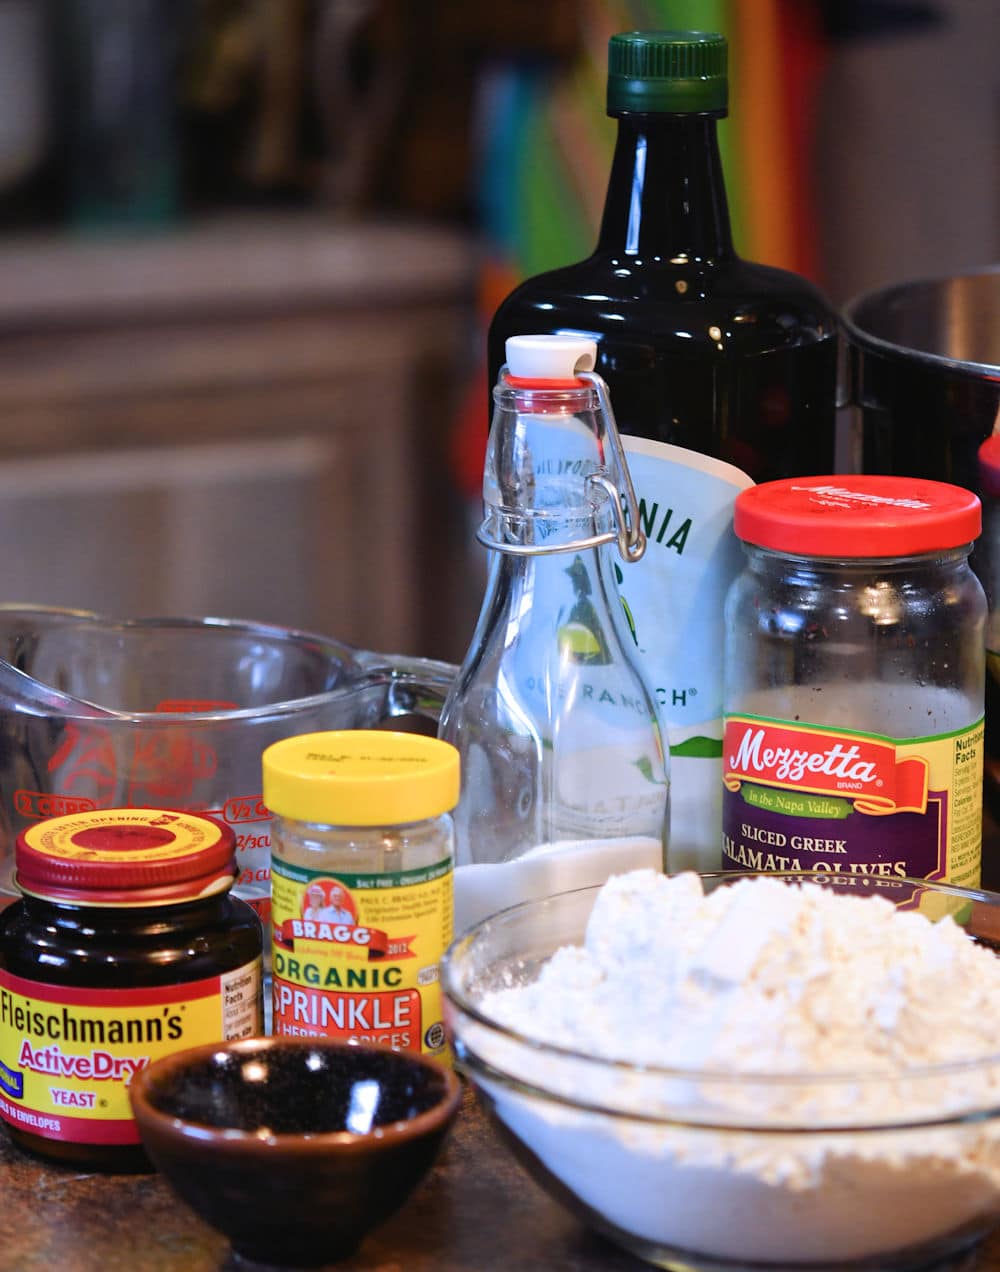
Most kitchens will have all these ingredients right in the pantry. We make a lot of pizza dough so we buy yeast by the jar instead of the little packets.
 | Have a browse at all |
For convenience, I’ve used the same amount of yeast as you will find in the yeast packets. 2 ¼ teaspoons of yeast is equivalent to one packet of yeast.
My recipe isn’t written for the quick rise yeast. Be sure that you don’t get these confused because they have different instructions.
Proofing the Yeast
Before you get everything measured and in the bowl, you need to test your yeast. It only took me one time of omitting this step and having a problem with getting my dough to rise before I figured out that I have to do this every time.
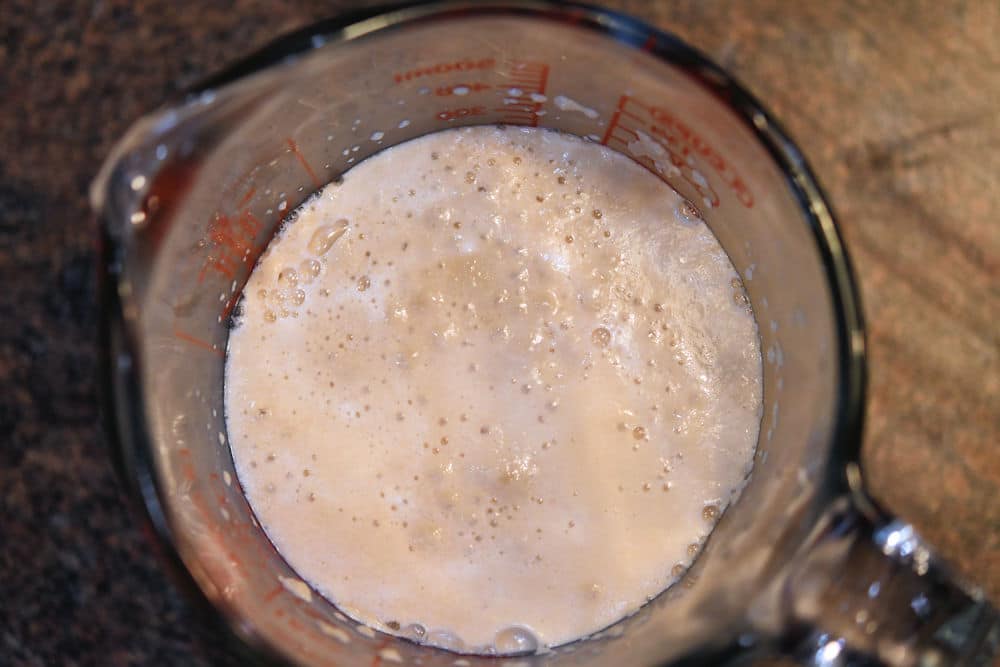
I like to use a glass Pyrex measuring cup when proofing my yeast. Water right out of the tap is plenty hot for yeast to rise at our house. Be sure to check your water heater temperature. You want your water to be between 110 and 115° degrees or so. Too hot and you will kill the yeast. Too cold and your yeast won’t grow.
Test out your water from the tap until you develop a feel for the heat of the water. I just have to make sure that mom never changes the temp on the water heater because it’s just perfect right now.
While you’re waiting for your yeast to grow, just remember that you’ve given the yeast some delicious sugar and some warm water. The yeast loves it and it starts to grow, forming bubbles. It’s so happy to be alive and then boom! You send it to its 425° demise, dashing its hope of ever going to college.
Using a KitchenAid standing mixer
We have a bread machine and I’ve been making homemade pizza dough in it for a couple of years. It works great but I wanted to try something different for a change.
I’ve used the KitchenAid standing mixer with the dough hook attachment to try it out. Even though the bread machine makes things easier, the KitchenAid mixer makes things more fun and everything seems to move more quickly toward the goal of eating.
One warning about using the KitchenAid mixer for making bread though. The instructions say not to go over the #2 speed setting. I think a lot of people may miss that and end up damaging their mixer. Don’t forget this tip!
Let the dough rise
After about 5 or 7 minutes of kneading in the KitchenAid, your dough will form a ball and pull away from the sides.
Take another bowl and oil the inside. Place your dough ball inside and then lift it up and turn it over. This will get oil on both sides of your dough ball.
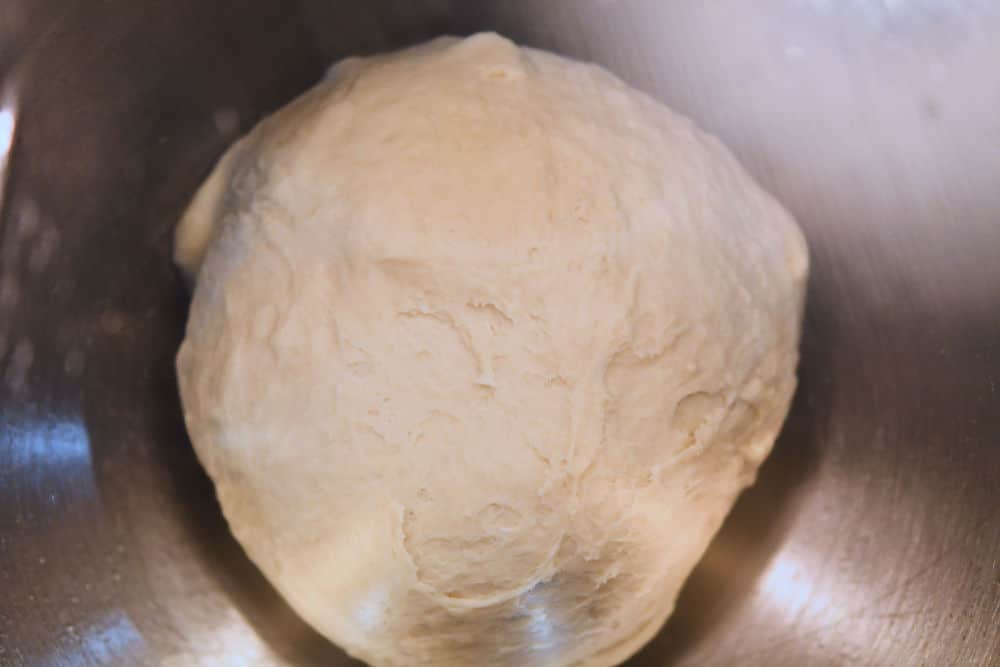
You want your dough ball to rise to at least double. A little more than double is fine too. It could take 60 minutes or it could take 90 minutes. There are several factors so you need to listen to your bread.
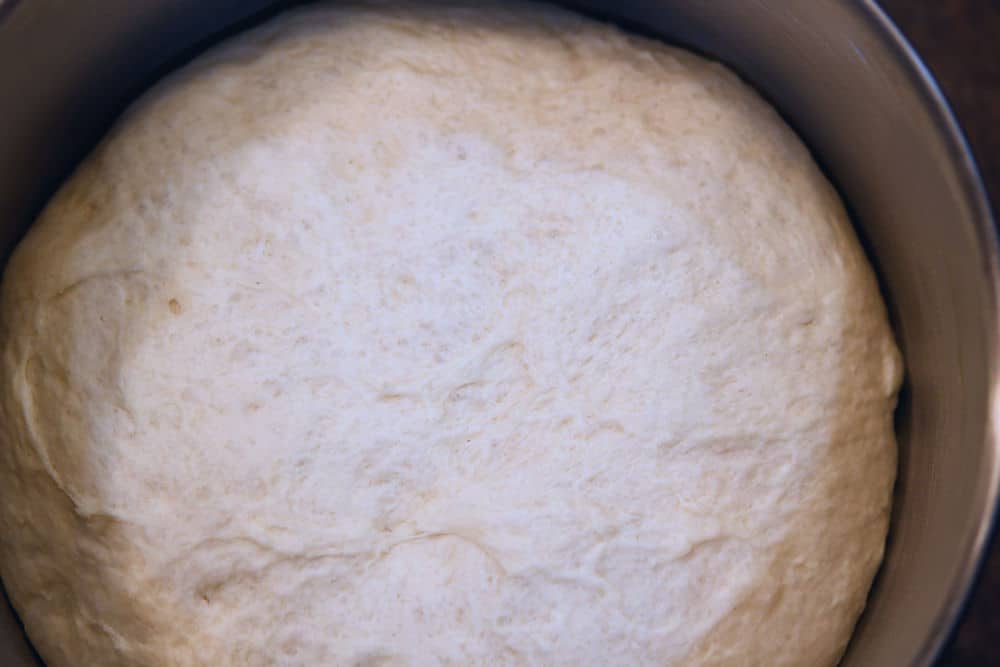
We tend to have a drafty house. During the winter, it’s a little cold in here. During the summer, the air conditioner is on. It’s not the best place to make bread.
My mom’s favorite method of getting the dough to rise in a nice environment is in the oven. Turn on the oven and immediately set the timer for 4 minutes. Turn off the oven after 4 minutes. Don’t let it finish preheating. Just turn it completely off. The oven will be warm and draft free.
When using this oven method of preheating, we use a clean towel to cover the dough. Putting plastic wrap might be taking too big of a chance of melting.
Preparing the dough for baking
During this entire process, you will have olive oil in the dough, on the baking sheet, on the rising dough. It can get slippery so do the best you can when spreading the dough in the pan.
Use your hands to spread and push it out until it fills most of the pan. You can either go for a rectangular shape or more of a curvy oval shape.
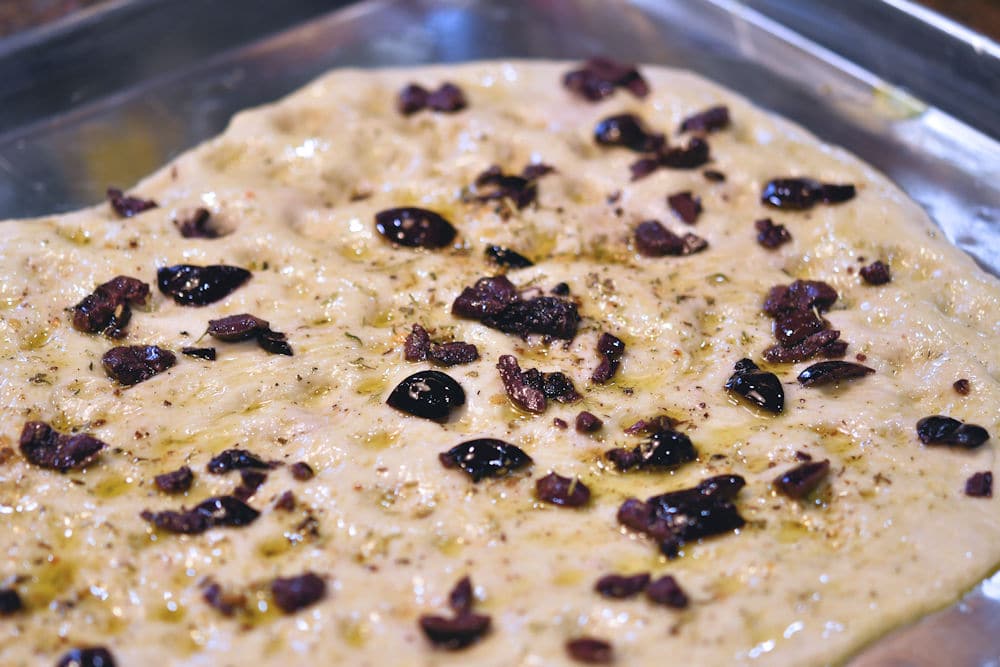
After you have the dough spread out, press the tips of your fingers in it, all over the place. You’re making the classic indentions which are called dimples. Just think of all that delicious olive oil seeping into those cute dimples.
Focaccia bread toppings
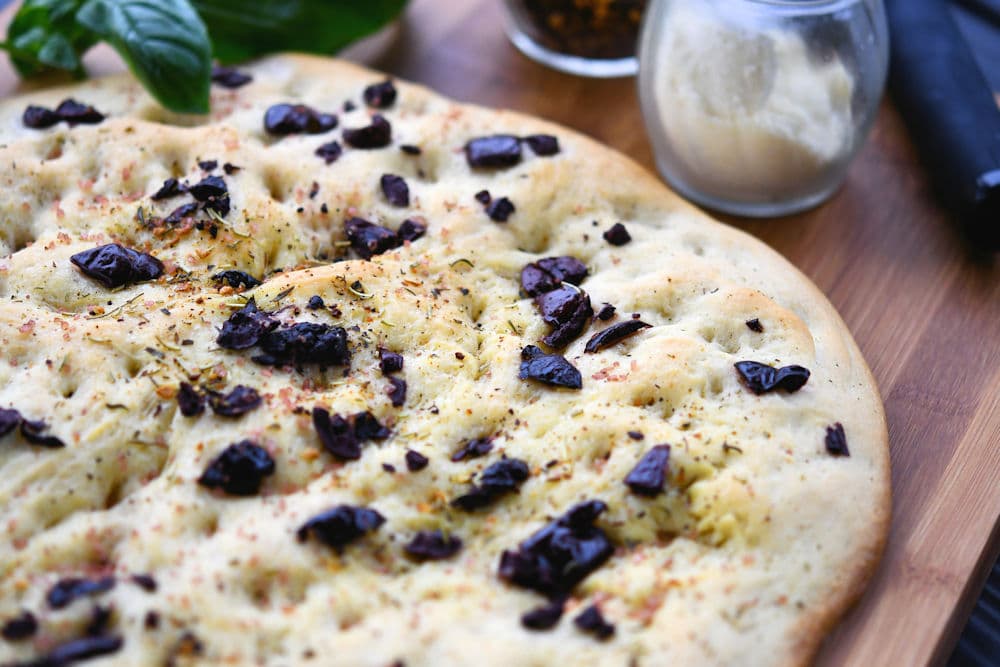
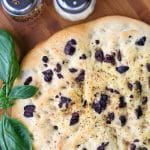
For this focaccia bread, I’ve used Kalamata Olives because we had a jar of them in the refrigerator. Mom had bought them to make Greek salads a few weeks ago and there was only enough left for this focaccia bread.
You can be creative with your toppings.
- Sun Dried Tomatoes
- Chopped Pepperoni
- Chopped Salami
- Green Olives
- Black Olives
- Chopped Garlic
Whatever you decide, just make sure to brush on more olive oil and sprinkle with course salt. You want to be able to taste that salt in every soft, chewy bite.
Can you make gluten free focaccia bread?
I was able to find a delicious gluten free focaccia bread recipe at Jessica In the Kitchen. Jessica has topped her focaccia with chopped garlic, tomatoes and rosemary. Mmmm…. tasty!
More recipes
This focaccia bread is delicious by itself, as a snack. You can also use it for making sandwiches like you would with ciabatta bread.
It’s incredible when dipped in a tomato based stew like you would have with this Instant Pot Beef Pizzaiola.
It would be so good dipping into this Beef and Mushrooms Soup.
Or, try dipping it right into some Homemade Pizza Sauce. Yum!
This bread is all you will need for a meal when included with this Dirty Rice Stuffed Bell Peppers recipe.
Recipe
Easy Focaccia Bread Recipe with Olive Topping
Tap to leave a star ratingFor more information, be sure to check the recipe details in the attached 24Bite® post.
Equipment
- Standing mixer
Ingredients
- 1 packet Active Dry Yeast, 2 ¼ teaspoons
- 1 cup Very Warm Water, 110° to 115°
- 2 tablespoons Sugar
- 420 grams All Purpose Flour, (about 3 ½ cups spoon and fill)
- 1 teaspoon Salt
- ¾ cup Olive Oil, divided
- ¼ cup Olives, (any type), coursely chopped
- Bragg Sprinkle Seasoning, optional
- Course Salt, optional
Instructions
- In a small bowl, stir together yeast, water and sugar. Set aside. After 10 minutes, check that it's bubbly and foamy. If so, continue. If not, you may want to try again with fresher yeast.
- In bowl for standing mixer, whisk together flour and salt.
- Place bowl in mixer with dough hook attachment. Mix in ¼ CUP olive oil until well blended.
- Pour the yeast mixture in same standing mixer bowl and continue to mix with dough hook until well blended. Scrape down with a spatula. Continue running the mixer to knead the dough for about five minutes. Stop to scrape down the sides as necessary.* Continue for about 5-10 minutes until dough ball is formed that doesn't stick to sides.
- With a small amount of the remaining olive oil, oil the inside of another mixing bowl, at least 3 times as big as the dough ball. Place the dough ball inside the oiled bowl and turn it over once, to coat the entire dough bowl. Cover tightly with plastic wrap and place in a warm, draft-free spot.
- Around 60-90 minutes later, the dough ball should at least doubled, perhaps more. How quickly it rises is dependent on a lot of factors including the age of the yeast and the warmth of the house. You want at least doubled in size.
Baking
- Preheat oven to 425℉.
- Pour half remaining olive oil in 9" x 13" baking pan (quarter sheet pan). Place dough ball in pan. Using palms of hands and fingers, press out and lightly push the dough until it fills the pan. Using your fingers, make little indentions all over the top of the focaccia dough.
- Brush on remaining olive oil. Sprinkle olives over top and press in a little. Sprinkle with seasoning and salt.
- Bake in preheated oven for 18-22 minutes to a light golden brown. Remove from pan to wire cooling rack and allow to cool completely before cutting.
Note: If there is a video, it will not display while there is an adblocker.
Notes
Percent Daily Values are based on a 2000 calorie diet. All amounts are estimates and 24Bite® takes no responsibility for actual figures since calculations vary by packaging and supplier. Please calculate the amounts yourself based on package labeling if you have specific dietary requirements. 24Bite®, Kim Guzman or Christian Guzman shall not be liable for adverse reactions or any other outcome resulting from the use of recipes or recommendations on this website or actions you take as a result.
© 2019-2025 Kim Guzman and Christian Guzman. All rights reserved. Subscribe to 24Bite email newsletters.
Follow 24Bite:



Corey says
I don’t see a 2nd rise on here after the dough is is in the pan, is that intentional?
Christian Guzman says
I didn’t do a second rise because it doesn’t need it. Focaccia bread isn’t intended to be big and puffy. If you wanted to try to make it fuller, you can try a second rise but it may be impeded by all the olives and oil.
L Morris says
Good recipe. Worked well.
Christian Guzman says
Thank you! I’m glad it worked out well for you. Thank you for writing!