There are only 5 easy steps to making tamales. Learn to make any tamales from your favorite traditional tamales to something more unique. Embrace your fear and eat up!
Tamales are delicious little pockets of corn-based dough filled with seasoned meat, beans, vegetables or cheese. They’re easy to make but you will need to set aside some time for them.
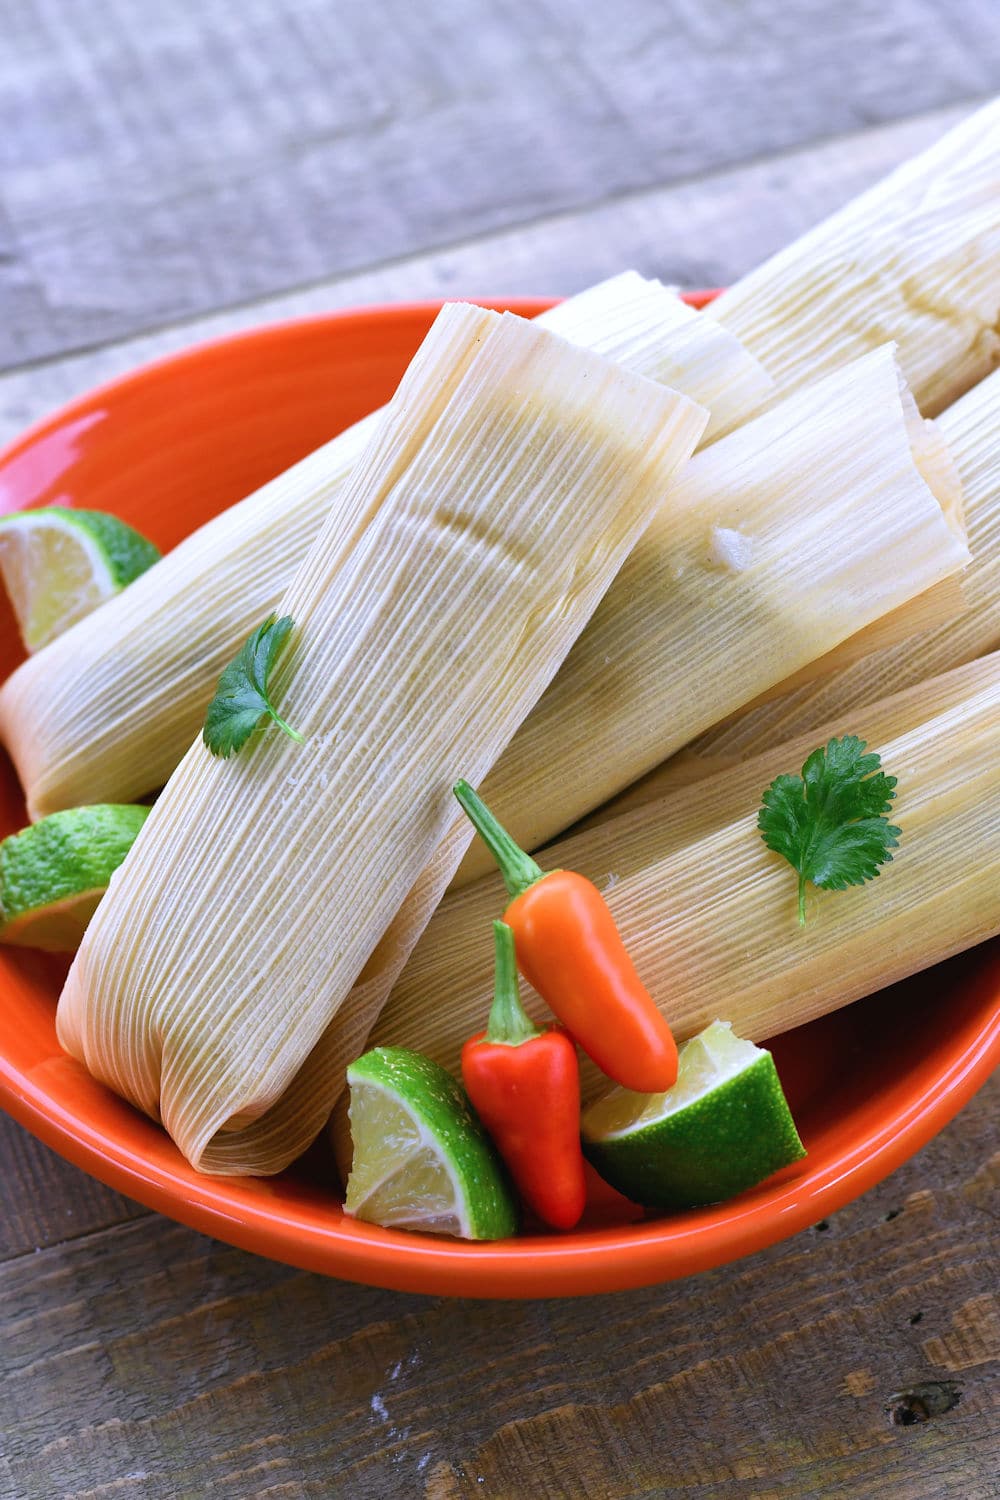
Once you’ve picked your tamales variety, you can learn to make them with these easy step by step instructions.
 | Have a browse at all |
Step 1: Wrapping Tamales
Corn husks are the typical wrapper for tamales in most Mexican homes. You can purchase these tamale wrapping husks at most stores during tamale season (around Christmas) or year round at Mexican grocers.
Corn husks are dry and crispy so they need to be soaked in water before use. Be sure to clean them well and scrub off all debris and corn silks. Remove any pieces that look like they could have molded.
Soak the corn husks to make them more pliable. Depending on their age, you may need to soak them overnight. This is one of the things you can do ahead of time.
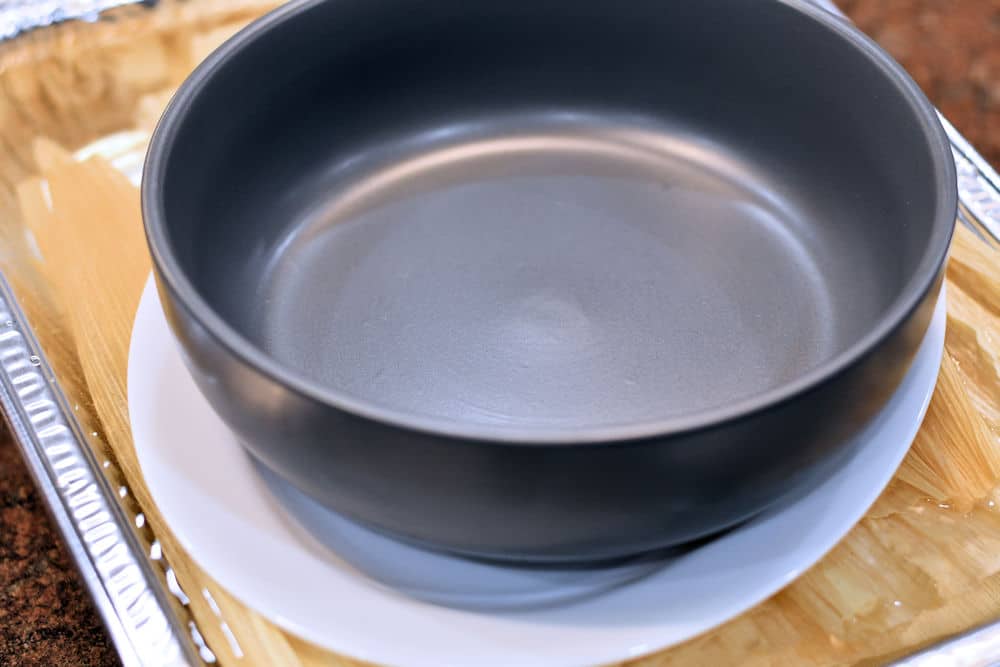
Fill a bowl or tray with cool water, over the husks. Weight them down so they stay under the water throughout.
What can be used instead of corn husks for tamales?
Banana leaves. Banana leaves are common in some parts of Mexico, South American and the Philipines.
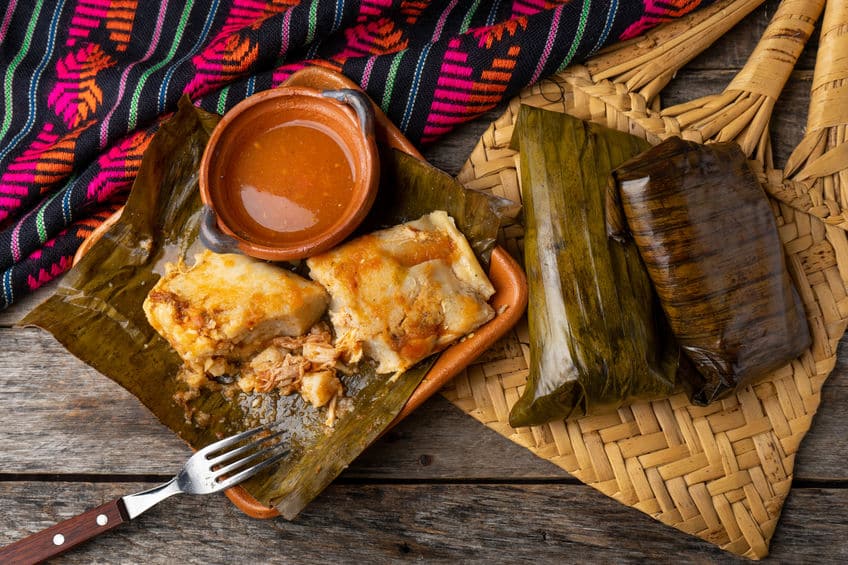
Parchment paper. Although I’ve not yet tried it, if you’re in a pinch, you can use 8″ squares of parchment paper.
Aluminum foil. I don’t like cooking with food right up next to aluminum foil, but it can work in a pinch as well.
Step 2: Making Tamale Filling
The most traditional tamales I’ve seen are filled with pork in a red sauce, puerco rojo. You can use any protein you like, including chicken, beans and cheese. Or, you can use vegetables as a filling.
Choosing a Tamale Sauce
Typically, you will choose a red tamale sauce or a green tamale sauce. I like to mix my own homemade sauce with my filling but I also take about ¾ cup and add it to the masa dough for more flavoring.
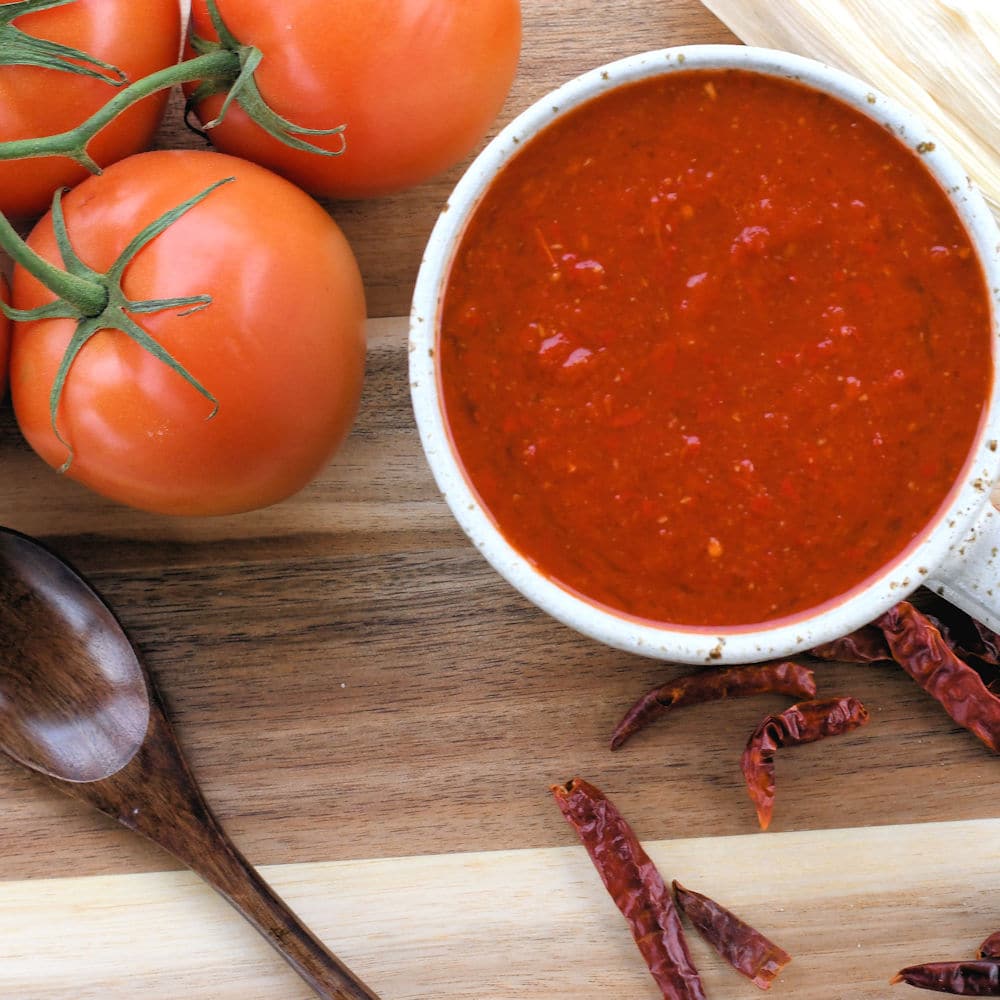
Red is usually for beef or pork. Green is usually for chicken, sometimes pork, or vegetables. The choice is clearly up to you because there’s nothing wrong with beef and green chiles either.
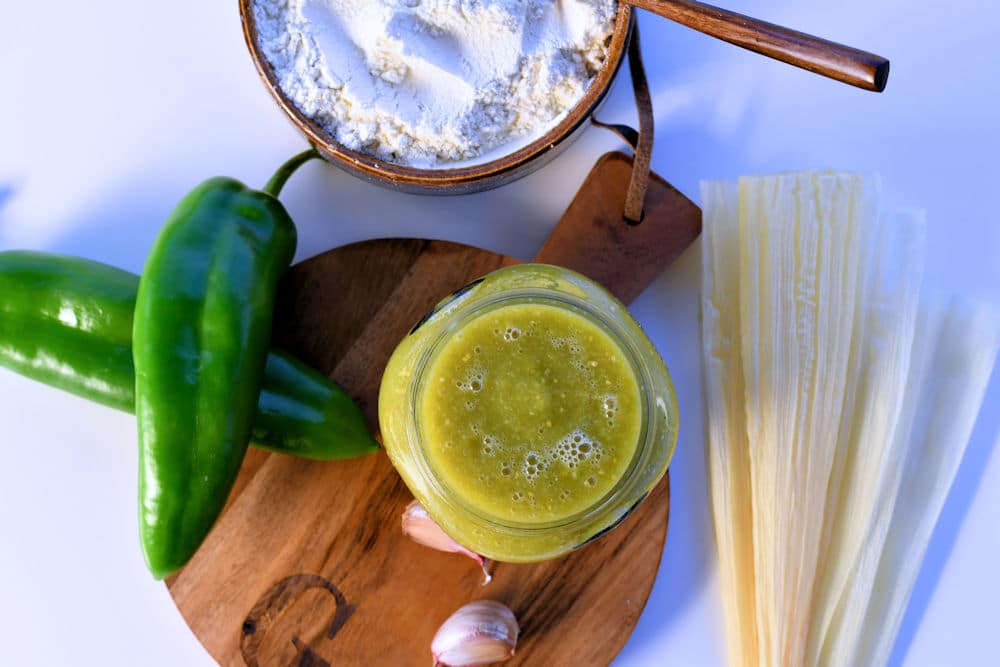
If you do everything you can on the night before, it will make assembly go so much more quickly the next day.
If your filling can be slow roasted like these Homemade Pork Tamales, then start the pork roast on the night before.
Even chicken can be made the night before and put in the refrigerator for the next day.
Tamales Filling Variations
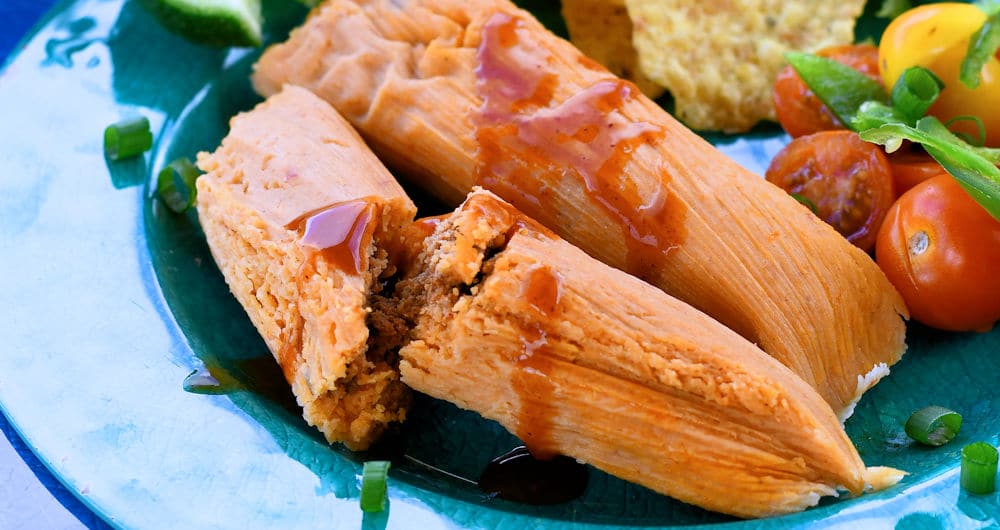
I’ve made about a half dozen tamales recipes here at 24Bite, but without a doubt, the Chorizo and Ground Beef Tamales are my favorite. They’re not as time consuming as something like pork since the filling doesn’t require slow cooking.
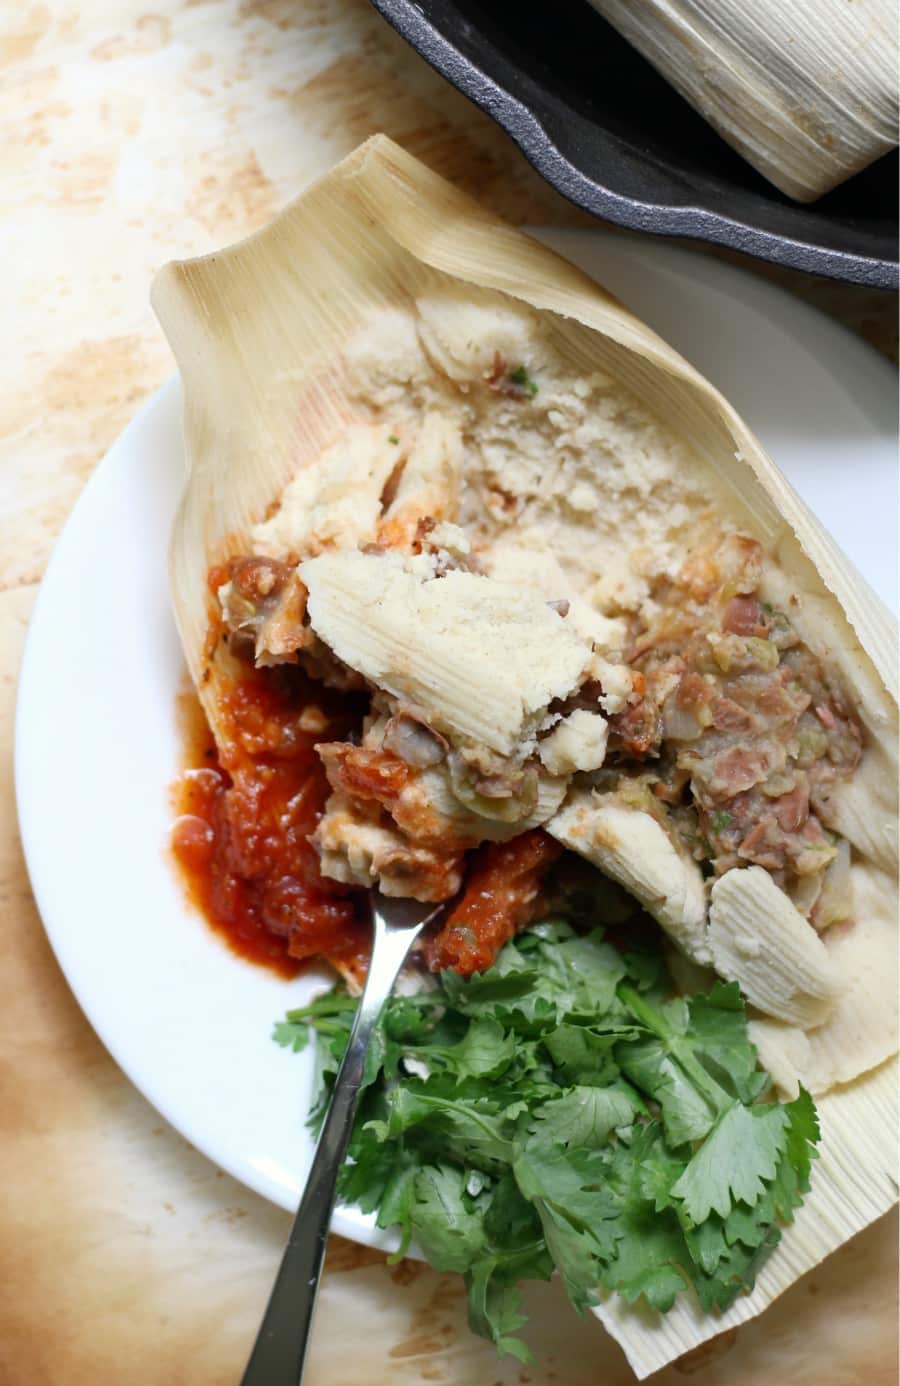
If you are looking for a tamal without meat, why not try these Gluten Free Pinto Bean Tamales from Rebecca of Strength and Sunshine.
Although most tamales are already gluten free, you don’t have to sacrifice taste if you don’t want to eat meat.
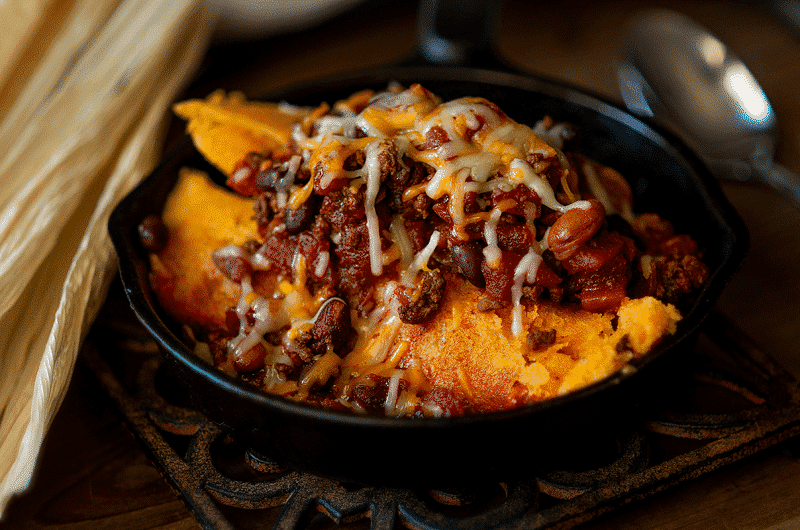
This may not be traditional but whoa, it looks good, doesn’t it? This Hot Tamale Recipe from Jeremy of Chicken Fried Kitchen starts with a delicious sous-vide of beef short ribs and Hatch green chiles.
Step 3: Masa Dough for Tamales
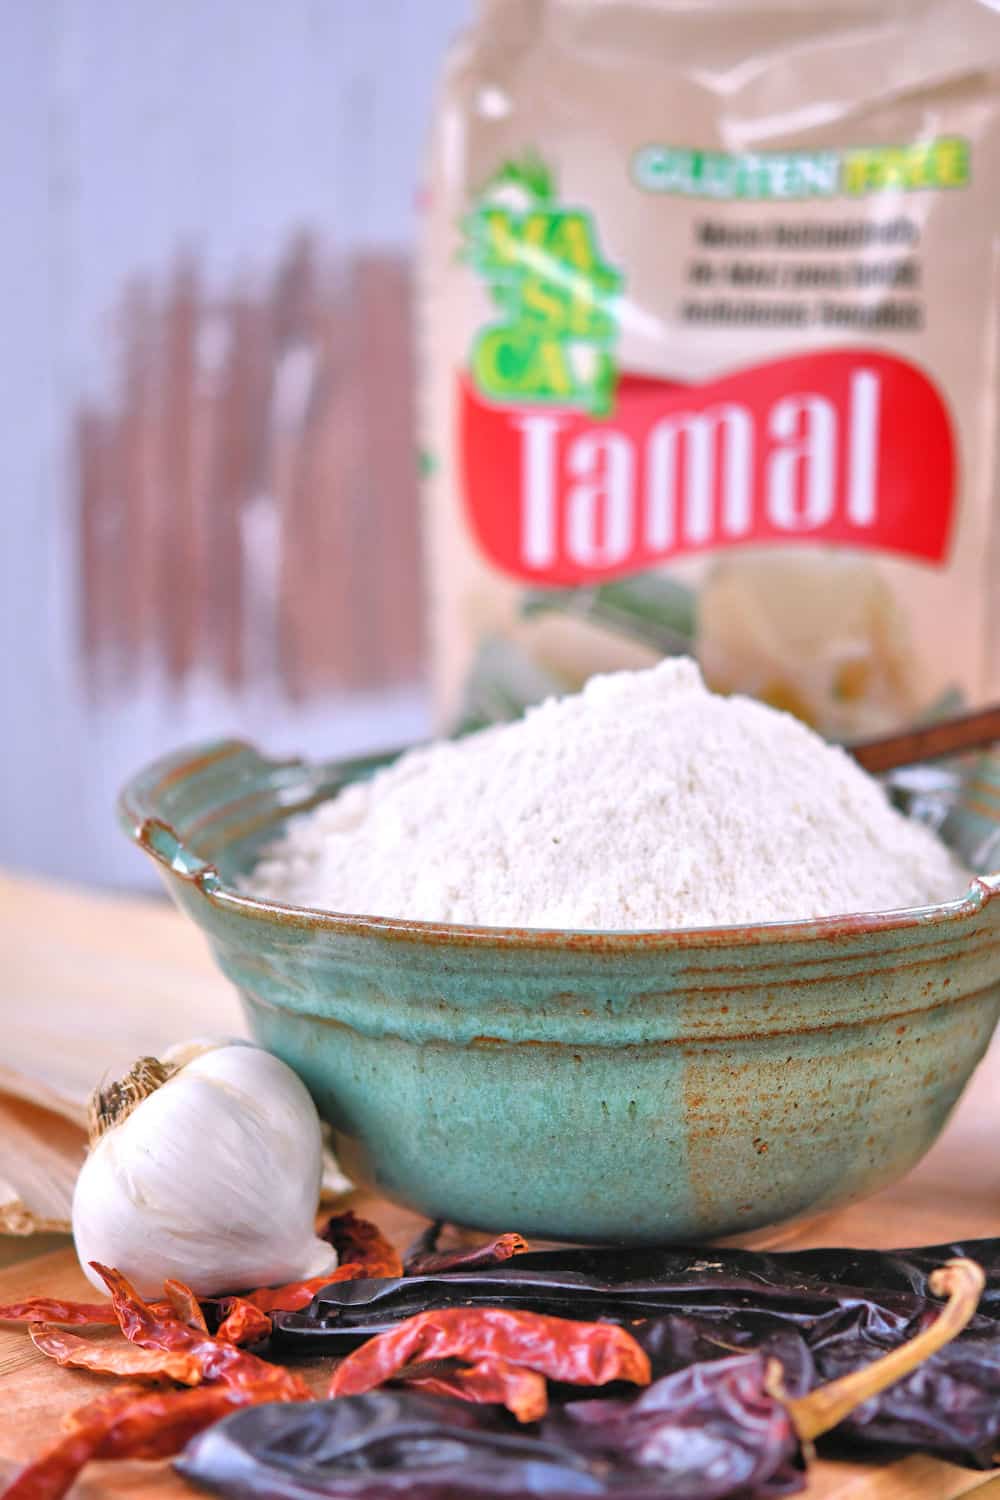
I usually make my masa with masa harina which is a fine corn flour. Use my Masa Dough for Tamales recipe, made with Maseca.
This is the recipe I use for all of my savory tamales. The only thing I change from tamale to tamale would be to add the sauce for flavoring.
If you have access to fresh ground masa, try this recipe for Masa Dough from Ground Masa from Yvette of Muy Bueno.
Step 4: Tamales Assembly
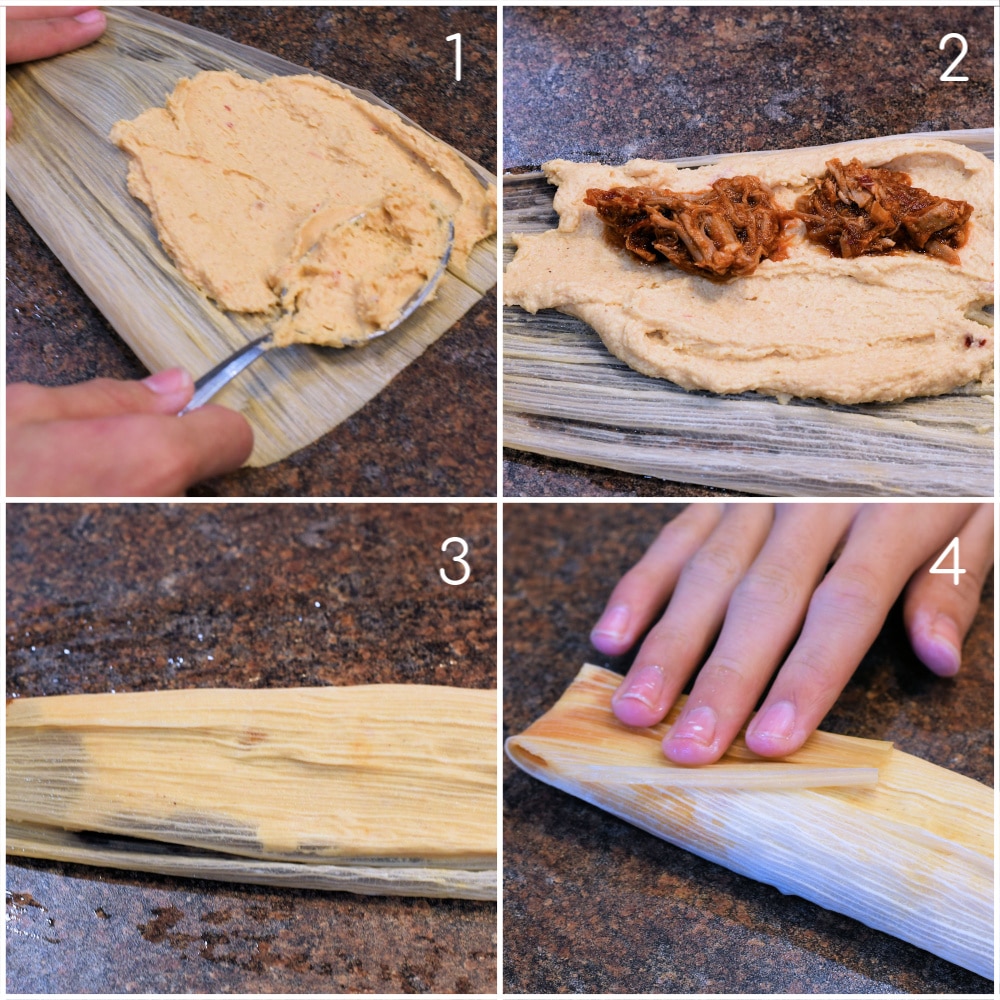
Assembling the tamales is the most time consuming part. Grab yourself a chair because you’re going to be here for awhile.
- Spread the masa dough
- Add some filling in the center
- Roll it up
- Turn up the short end
You realize this is really easy, right? The thing is that, with most tamale recipes, you may end up doing this 45-55 times in a row. That’s the time consuming part.
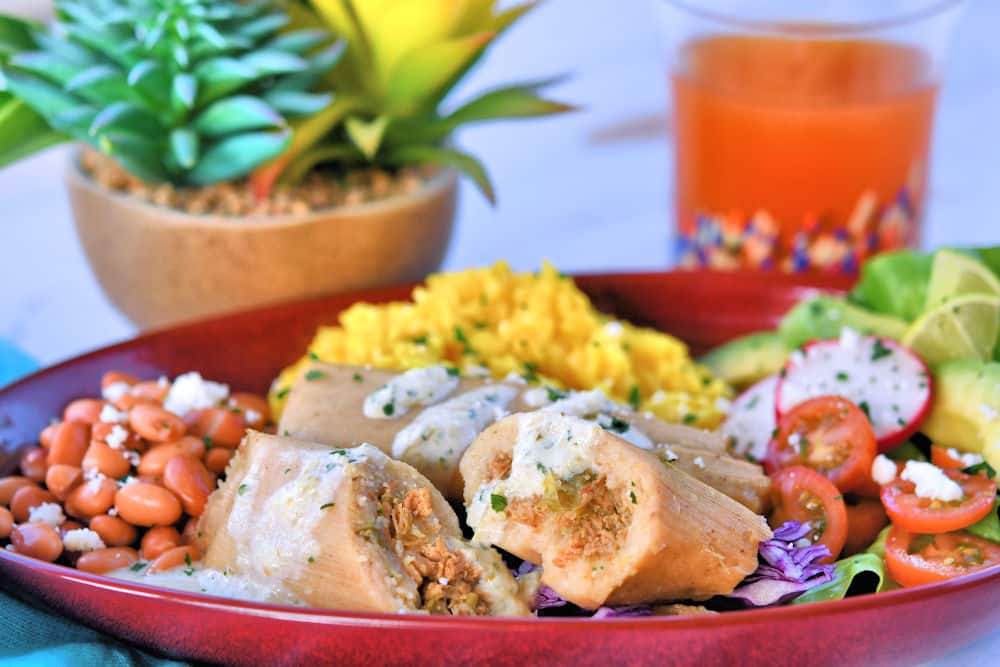
If you want to try out some tamales but you don’t want that huge time commitment, try this Instant Pot Chicken Tamales recipe. It’s a small batch and makes only about 15-16 tamales.
Step 5: Steaming the Tamales
Now, for the final step. Cooking the tamales is done by steam so you don’t dry out the dough.
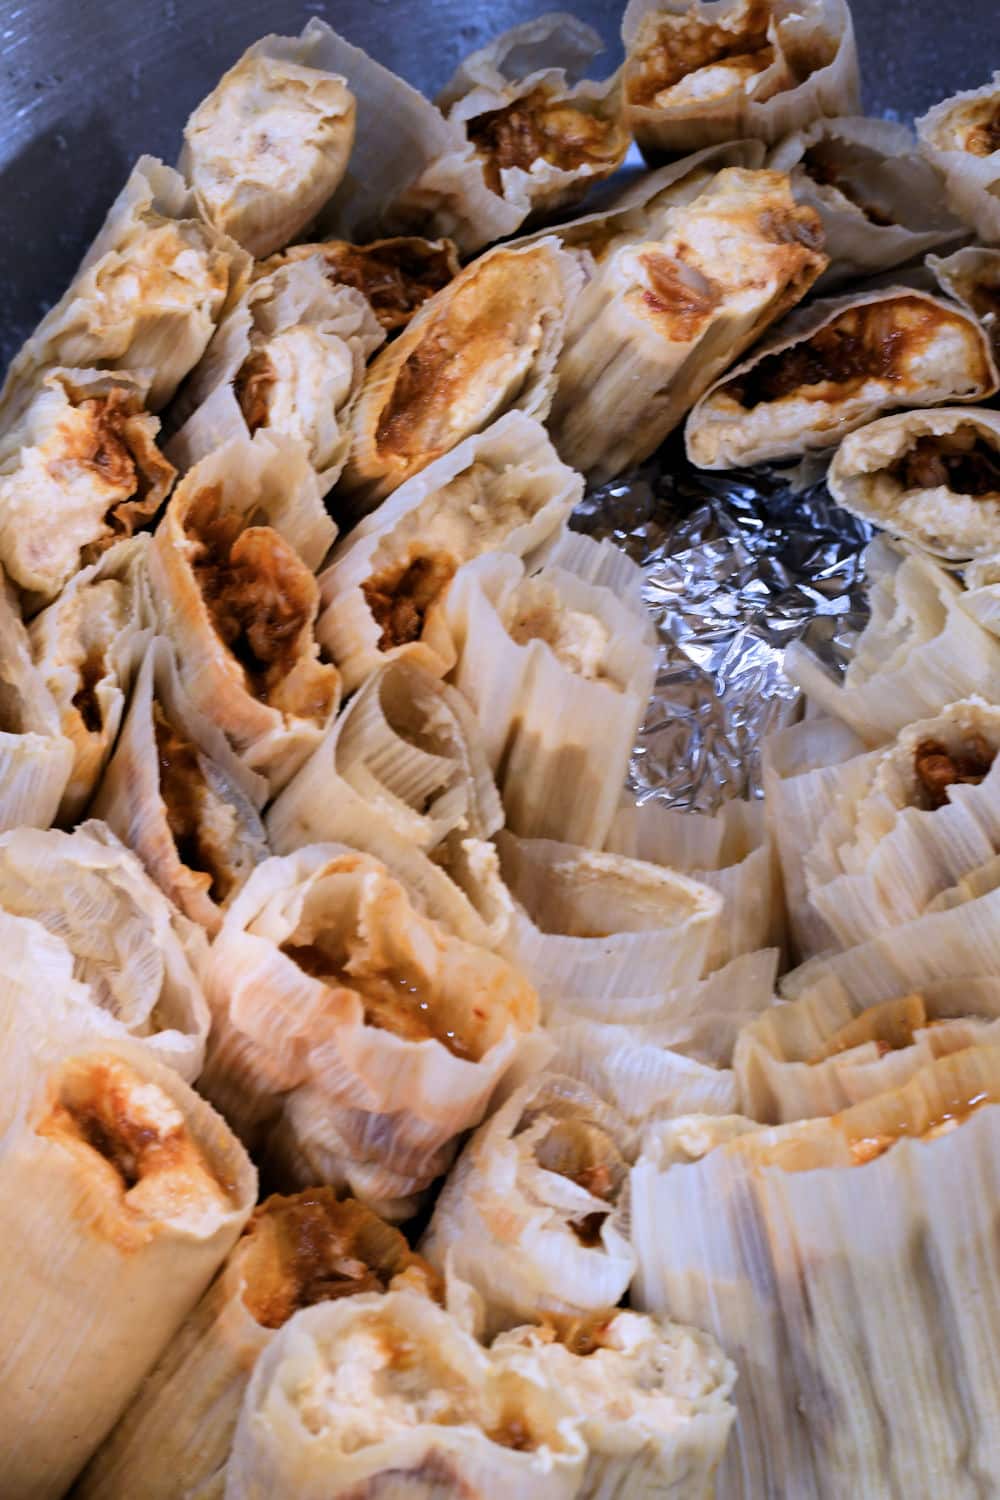
Most of the time, I see tamales steamed in a tamale pot. You could use any tall pot, as long as it has a lid and you have a way to keep the tamales up out of the water.
Have a look at this 32-Quart Stainless Steel Steamer (aff link). It’s the perfect size for all my tamale recipes. It doesn’t stain like aluminum and withstands all the tamales we make during the year. A lot! Have I mentioned how much I love tamales?
The Instant Pot is also the perfect tamale steamer. After all, it’s a pressurized steamer. It’s like it was made for tamales.
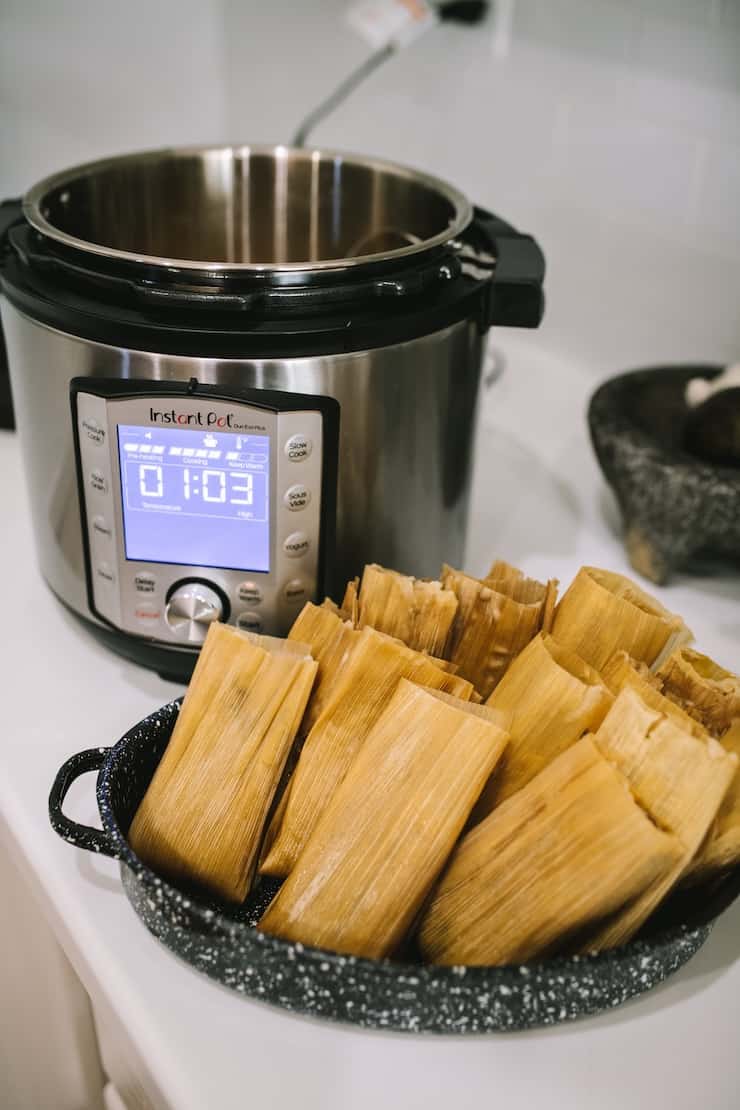
I’ve made Instant Pot Chicken Tamales and I’m happy to say that Yvette of Muy Bueno has also used the Instant Pot for Pork Green Chile Tamales.
Non Traditional Tamales
Do you want the taste of tamales but you don’t have the time? I’ve put everything I know about tamales into a casserole.
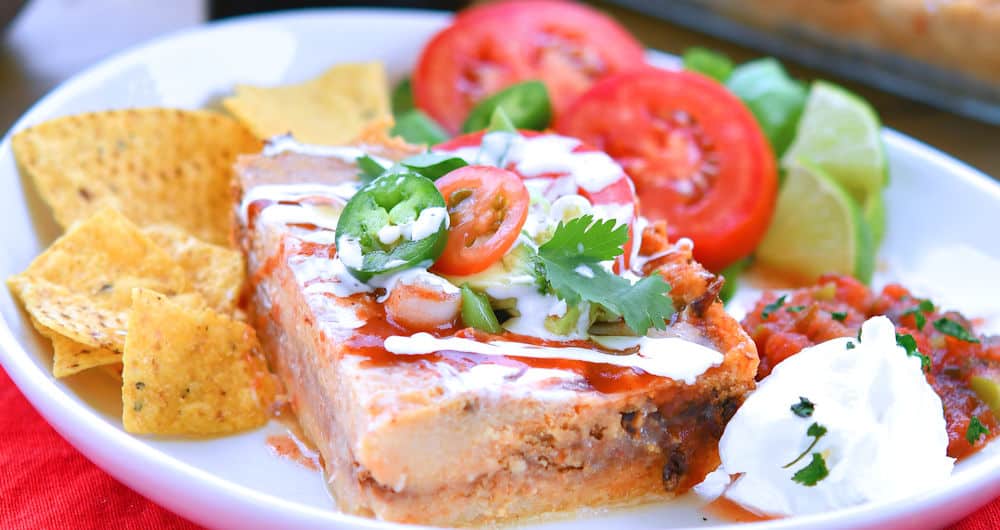
This Pork Tamale Casserole has everything you love about authentic tamales without the time consuming corn husk filling and rolling.
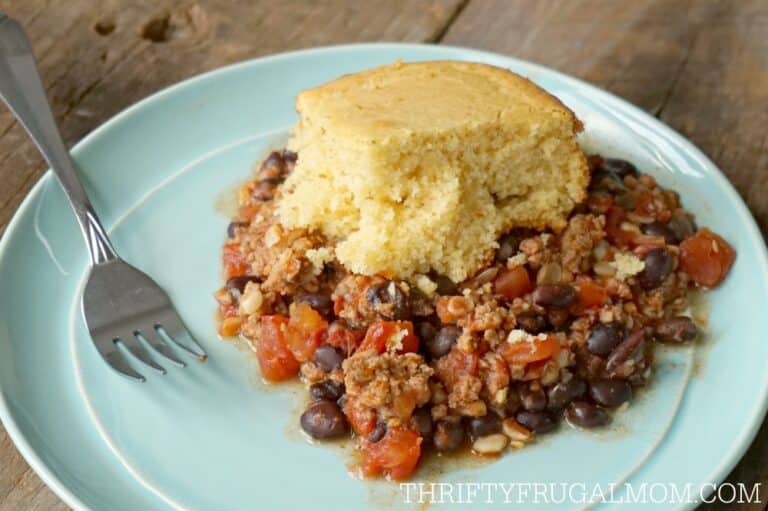
Or, try this quick and eay Crockpot Tamale Pie from Lydia of Thrifty Frugal Mom.
Sweet Dessert Tamales
Yes, sweet tamales really are a thing. You usually substitute milk and sugar for the chiles and broth.
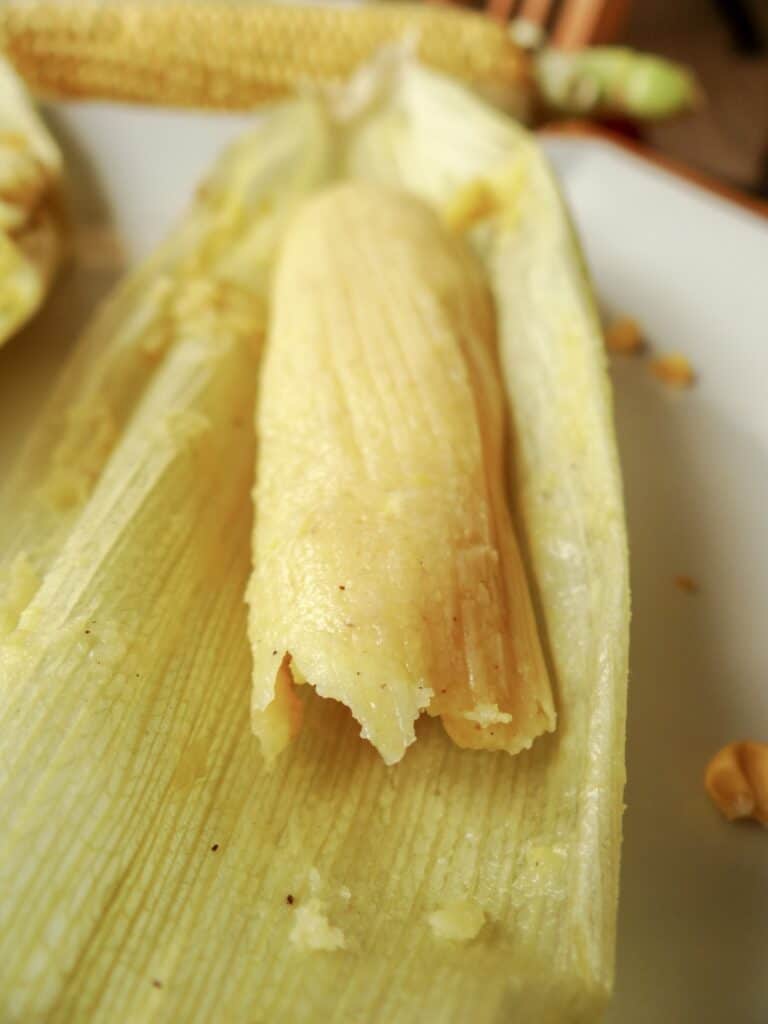
Perhaps the most popular sweet tamale is the Tamal de Elote Dulce. This one is from Roberto of Natural Goodness. They’re flavored with fresh sweet corn and agave syrup.
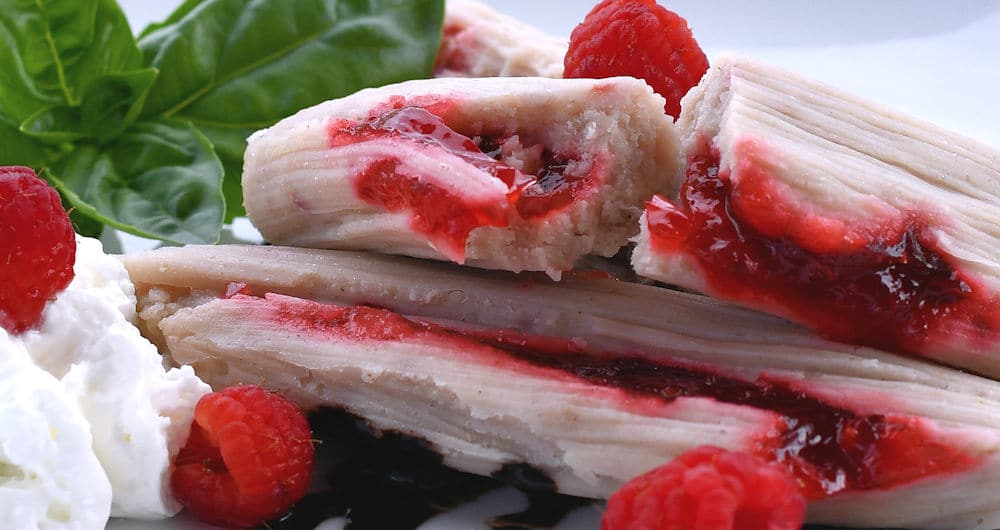
You may also want to try my own creation of Rasperry Dessert Tamales. They are flavored with both fresh raspberries and raspberry gel. I’ve served them with chocolate and whipped cream.
Conclusion
Now that I’ve broken this down into five easy steps, I hope you will set aside your fear and give making tamales a try. Enjoy!
All images from other bloggers are used with their permission.


Elizabeth says
These tamales are incredible! So delicious!
Andréa Janssen says
I love tamales and this makes it even more easy to enjoy. Thank you!
Addison says
This blog post is extremely helpful and informative! Thank you!!
Amy says
Tamales is the one thing I have never attempted to try and it’s like you read my mind and wrote this post for me! LOL! I do have a fear of stuffing it up I must admit but after reading this it doesn’t seem so daunting, Love that there is a sweet tamale option too which I’m sure would just be so delicious!
Alexandra says
How delicious. This post was so useful as someone who had never made authentic tamales before. Love the flavours and all of your helpful tips!
Shadi Hasanzadenemati says
I Made for a gathering and it was a hit, everyone loved it! Will definitely make it again!
Denay DeGuzman says
What delicious-looking Mexican tamales! The best are made fresh at home. I just sent this recipe to a friend who wants to gather a small covid-safe group together to make cheese and jalapeno tamales during the Lenten season.
Claudia Lamascolo says
Amazing recipe I love the Authenticity of this its always the way to cook .. thanks for your expertise!
Michelle | Sift & Simmer says
I love tamales, and have never thought to attempt to make it at home — thanks for your detailed post on making them! Will have to try making these soon!
Andrea Metlika says
I had no idea they were this easy to make. They look divine and my family is going to love it when I make these.
Patty at Spoonabilities says
I’ve never made tamales before but love love love them! Your recipe and easy steps will have me making these over and over!
Cate says
Love these tips, thanks for sharing! I love making tamales from scratch and I can’t wait to do it with these tips now!
Noelle Simpson says
This was such an easy recipe to follow, turned out delicious. Whole family loved it! Thank you.
Irina says
What a great way to learn about Mexican cuisine by reading your post! I am a beginner cook regarding international ingredients, but I am excited to take the next step in my cooking journey with your site. 🙂