

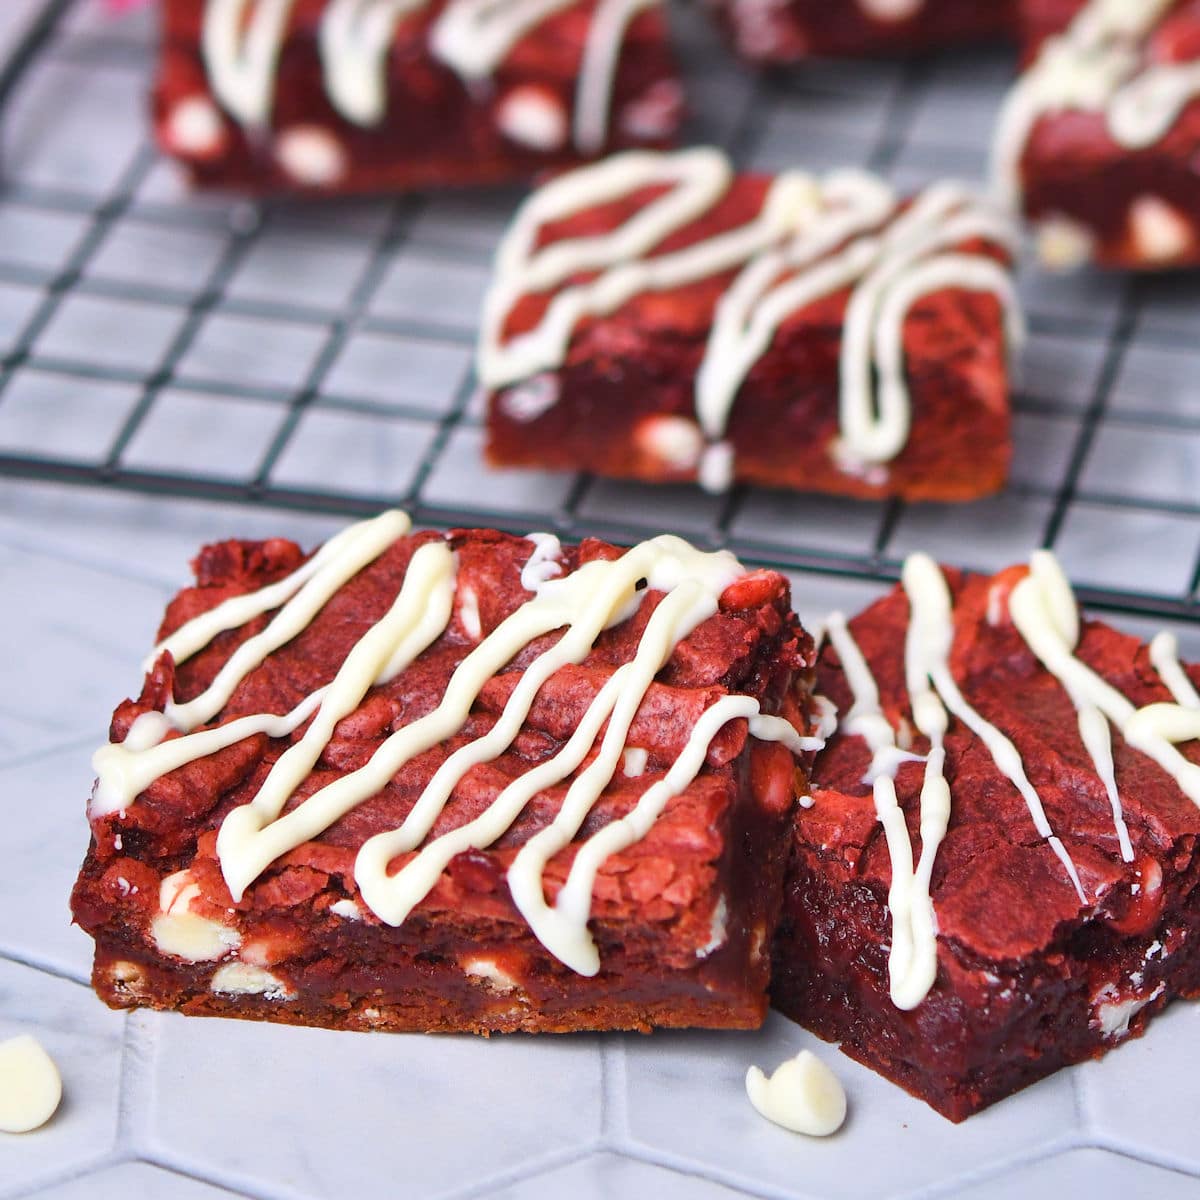
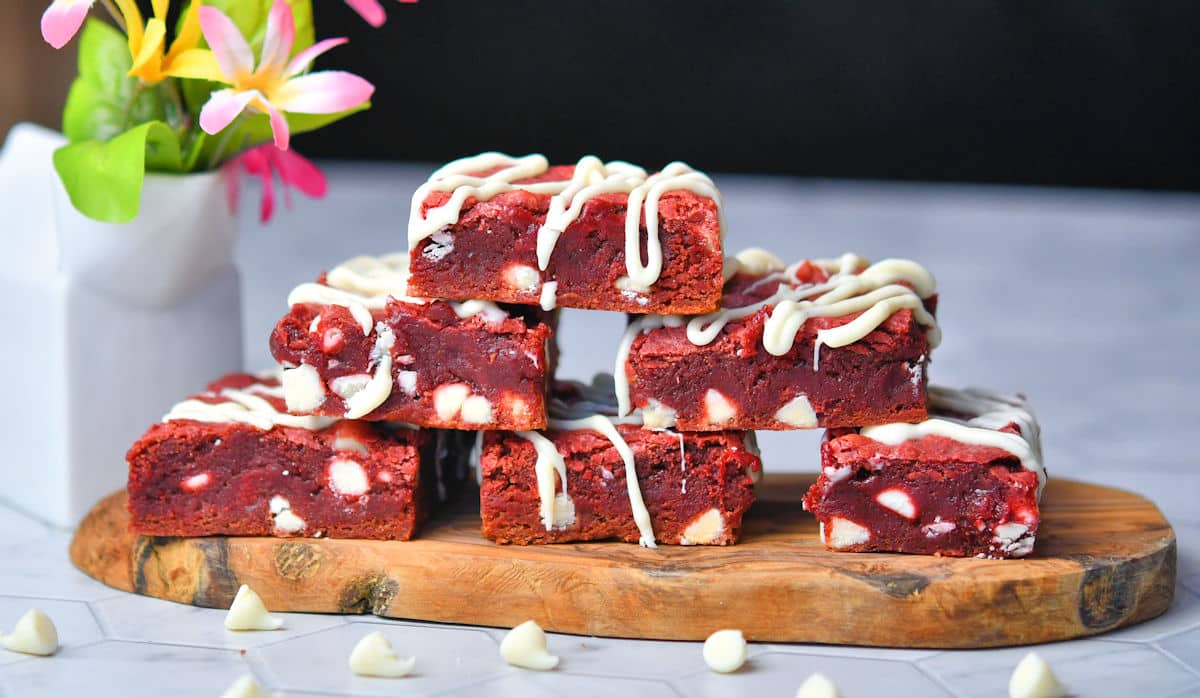
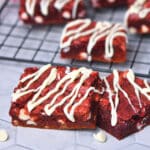
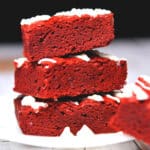
No Dye Red Velvet Brownies are the perfect fudgy dessert to celebrate all special occasions, especially Valentine’s Day! You won’t miss the red dye with this natural coloring.
You can easily mix up these brownies in just a few minutes. Using a hand mixer is optional. The batter is easy to mix by hand. Be prepared to make a second batch when you eat the first ones too quickly!
Ingredients
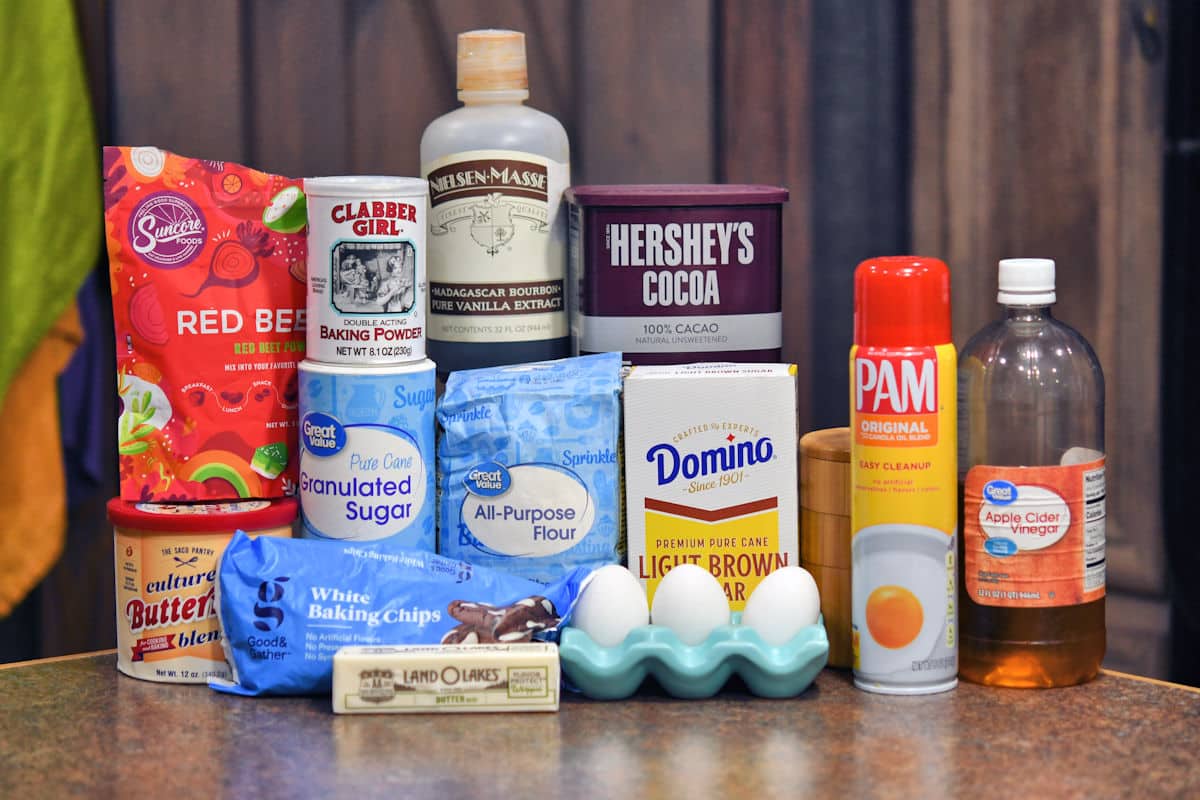
When I first started making red velvet brownies, there weren’t very many ingredients. Once I decided to take on the challenge of converting the recipe to a natural no dye version, the ingredients list started growing.
What makes this recipe so easy is that the butter is melted. There’s no need to make it smooth and then add your sugar. You can simply stir it together by hand.
Red Food Coloring Substitute
When red velvet cake was first introduced, the coloring was made with beets. You could use the cooked beet pulp and also the beet juice for coloring. To make things easier, beet powder works great.
For this batch of no dye red velvet, I’ve used Suncore Foods Red Beet Powder from Amazon. During testing, I also tried Chérie Sweet Heart Organic Beet Root Powder, but it seemed to produce a more pink result for me.
 | Have a browse at all |
Why is There Vinegar in Red Velvet?
Both the vinegar and the buttermilk are used to retain the red color of the beets. It’s a chemical reaction to keep that deep color. I used buttermilk powder instead of fresh buttermilk because I didn’t want to add more liquid to the brownies before baking.
Believe it or not, this is the same concept when adding vinegar to the wash to retain the dye in cotton clothes.
Try Something New at 24Bite


Do You Frost Brownies?
If you want to frost these brownies, I suggest a cream cheese or vanilla frosting. Either will complement the brownies. I’m sure chocolate would also be tasty, but it may overpower the vanilla and butter, giving you a regular chocolate brownie taste rather than the traditional red velvet taste which has limited chocolate taste.
Since I’ve already added white chocolate chips (vanilla chips) to to batter, melted white chocolate with a tiny bit of shortening or lard will make a nice optional drizzle.
More Brownie Recipes
If you love brownies as much as I do, be sure to try one or all of these too!
- Espresso Cappuccino Brownies
- Dark Chocolate Brownies
- White Chocolate Blondies
- Raspberry White Chocolate Blondies
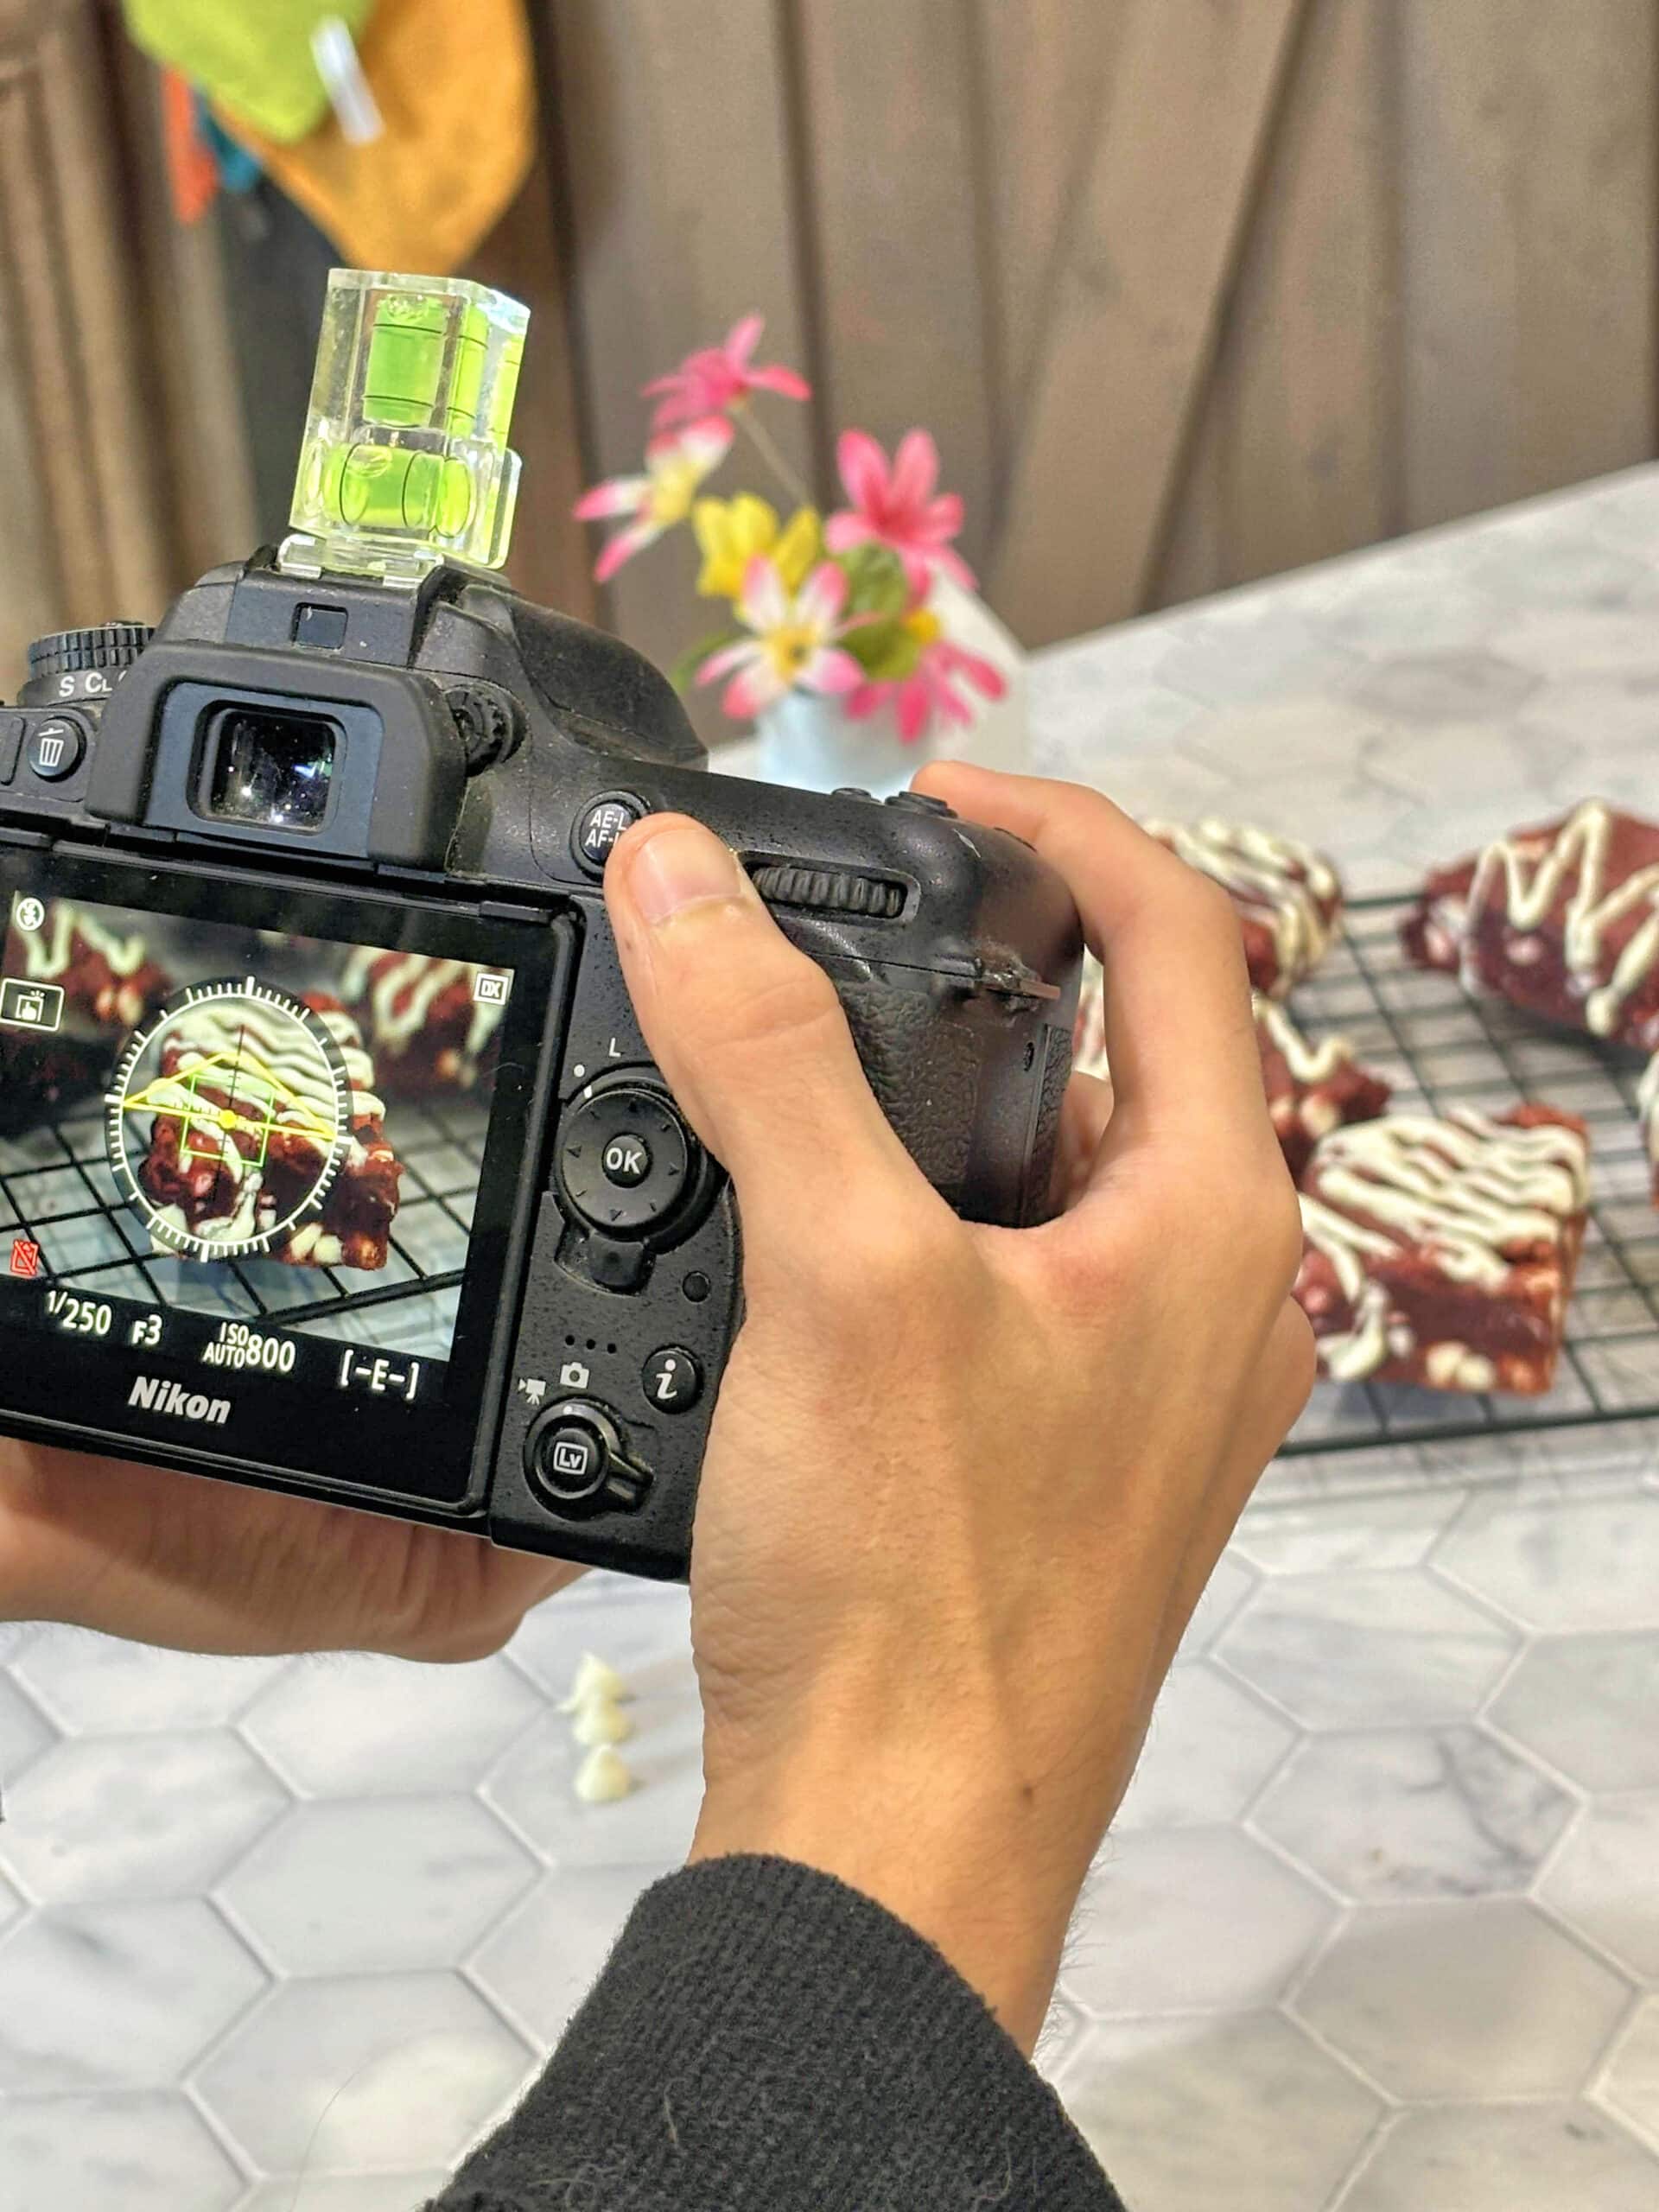
Behind The Scenes
I originally introduced this recipe with typical red food coloring in January of 2023. You’ll find that recipe below this new one that I’ve developed with a plant based natural substitute to replace the red dye. I wanted to keep the old one in case anyone still needed it.
Recipe
No Dye Red Velvet Brownies Dye Free
Tap to leave a star ratingFor more information, be sure to check the recipe details in the attached 24Bite® post.
Equipment
- 8" x 8" baking dish
Ingredients
Dry Ingredients
- 250 grams All Purpose Flour, (about 2 cups spoon and fill) *see note
- ½ teaspoon Salt
- 2 tablespoons Cocoa Powder, regular
- 3 tablespoons Red Beet Powder
- 2 tablespoons Buttermilk Powder
- ¼ teaspoon Baking Powder
Remaining Ingredients
- ½ cup Butter, unsalted, one stick, melted and cooled
- 1 ½ cups Granulated Sugar
- ¼ cup Light Brown Sugar, packed
- 3 large Eggs, slightly beaten
- 1 teaspoon Vanilla Extract
- 1 ½ teaspoon Apple Cider Vinegar
- 1 cup Vanilla Morsels, white chocolate chips
- Cooking Spray, like Pam, or parchment paper
Instructions
- Preheat oven to 350℉.
- Spray an 8" x 8" baking dish with cooking spray or use parchment paper. Or, my favorite way, spray the dish and then place the parchment paper so the spray helps keep it in place while spreading the brownies. Set aside.
- Place stick of butter in a microwave safe bowl and microwave it for 30 seconds at a time until melted. Set aside.
- In medium mixing bowl, whisk together Dry Ingredients.
- Add melted butter, both sugars, eggs, vanilla extract and vinegar to mixing bowl. With a spoon, mix until everything is just moistened. Will be thick and sticky. Gently stir in vanilla morsels.
- Spread in prepared baking dish. Bake in preheated oven for 25-30 minutes. Do not overbake. You don't want the edges to get dry and hard.
- If you want to add a frosting or drizzle, allow the brownies to completely cool before frosting.
Note: If there is a video, it will not display while there is an adblocker.
Important: Whenever possible, use a scale for measuring dry ingredients, like flour. This is the more accurate measurement. The scoop and level method of measuring is not accurate because you don’t know how packed your flour has become. If you don’t have a scale, stir the flour lightly then use the spoon and fill method instead. If you use too much flour, your recipe will be too dry and crumbly.
Notes
Percent Daily Values are based on a 2000 calorie diet. All amounts are estimates and 24Bite® takes no responsibility for actual figures since calculations vary by packaging and supplier. Please calculate the amounts yourself based on package labeling if you have specific dietary requirements. 24Bite®, Kim Guzman or Christian Guzman shall not be liable for adverse reactions or any other outcome resulting from the use of recipes or recommendations on this website or actions you take as a result.
© 2019-2026 Kim Guzman and Christian Guzman. All rights reserved.
Former recipe below, created January of 2023.
Red Velvet Brownies
Tap to leave a star ratingFor more information, be sure to check the recipe details in the attached 24Bite® post.
Equipment
- 8" x 8" baking dish
Ingredients
- 180 grams All Purpose Flour, (about 1 ½ cups spoon and fill) *see note
- ½ teaspoon Salt
- 3 tablespoons Cocoa Powder
- ¼ teaspoon Baking Powder
- ½ cup Butter, unsalted, 1 stick, melted
- 1 ½ cups Sugar, granulated, white
- 2 large Eggs, slightly beaten
- 1 teaspoon Vanilla Extract
- 1 ounce Red Food Coloring
- Cooking Spray, like Pam, or parchment paper
Instructions
- Preheat oven to 350℉.
- Spray an 8" x 8" baking dish with cooking spray or use parchment paper. Or, my favorite way, spray the dish and then place the parchment paper so the spray helps keep it in place while spreading the brownies.
- Place stick of butter in a microwave safe bowl and microwave it for 30 seconds at a time until melted. Set aside.
- In medium mixing bowl, whisk together first four ingredients.
- Add melted butter, sugar, eggs, vanilla extract and red food coloring to mixing bowl. With a spoon, mix until everything is just moistened. Will be thick and will be sticky.
- Bake in preheated oven for 25-30 minutes. The center may look a little underdone, but it will continue cooking as it cools. Do not overbake. You don't want the edges to get dry and hard.
- If you want to add a frosting or drizzle, allow the brownies to completely cool before frosting.
Note: If there is a video, it will not display while there is an adblocker.
Important: Whenever possible, use a scale for measuring dry ingredients, like flour. This is the more accurate measurement. The scoop and level method of measuring is not accurate because you don’t know how packed your flour has become. If you don’t have a scale, stir the flour lightly then use the spoon and fill method instead. If you use too much flour, your recipe will be too dry and crumbly.
Notes
Percent Daily Values are based on a 2000 calorie diet. All amounts are estimates and 24Bite® takes no responsibility for actual figures since calculations vary by packaging and supplier. Please calculate the amounts yourself based on package labeling if you have specific dietary requirements. 24Bite®, Kim Guzman or Christian Guzman shall not be liable for adverse reactions or any other outcome resulting from the use of recipes or recommendations on this website or actions you take as a result.
© 2019-2026 Kim Guzman and Christian Guzman. All rights reserved.
Follow 24Bite:
Christian Guzman says
The recipe has now been updated with a no dye option on the red food coloring. Please let me know if you have any questions.