This chicken green chile tamales recipe is made with an easy masa dough and stuffed with tender chicken breast simmered in a fresh salsa of tomatillos and green chiles.
These delicious tamales are stuffed with tender, poached chicken that has been simmered in a homemade sauce of verde green chiles and tomatillos.
Recipe | History | Difficulty | Tamale Assembly | More Tamales
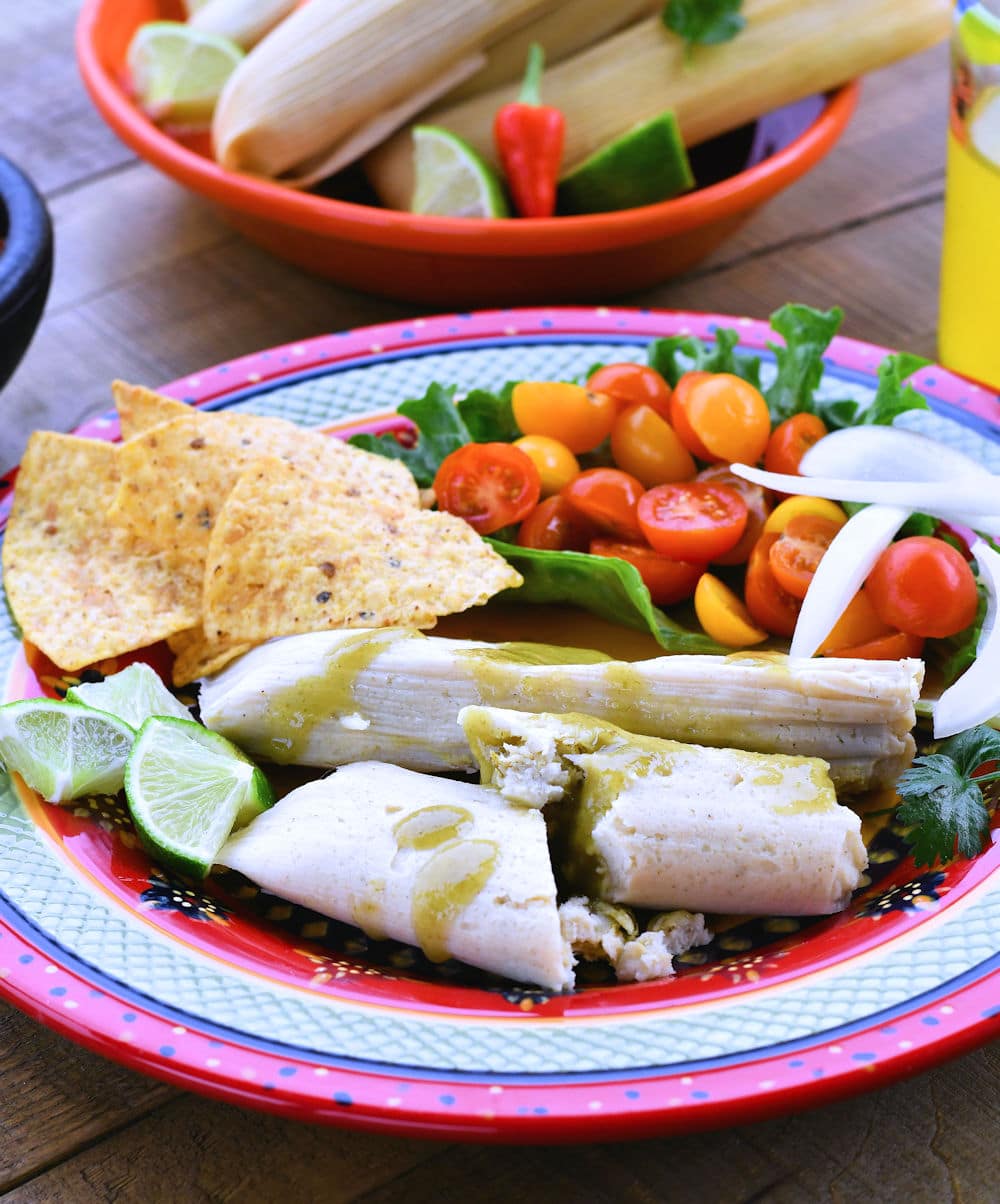
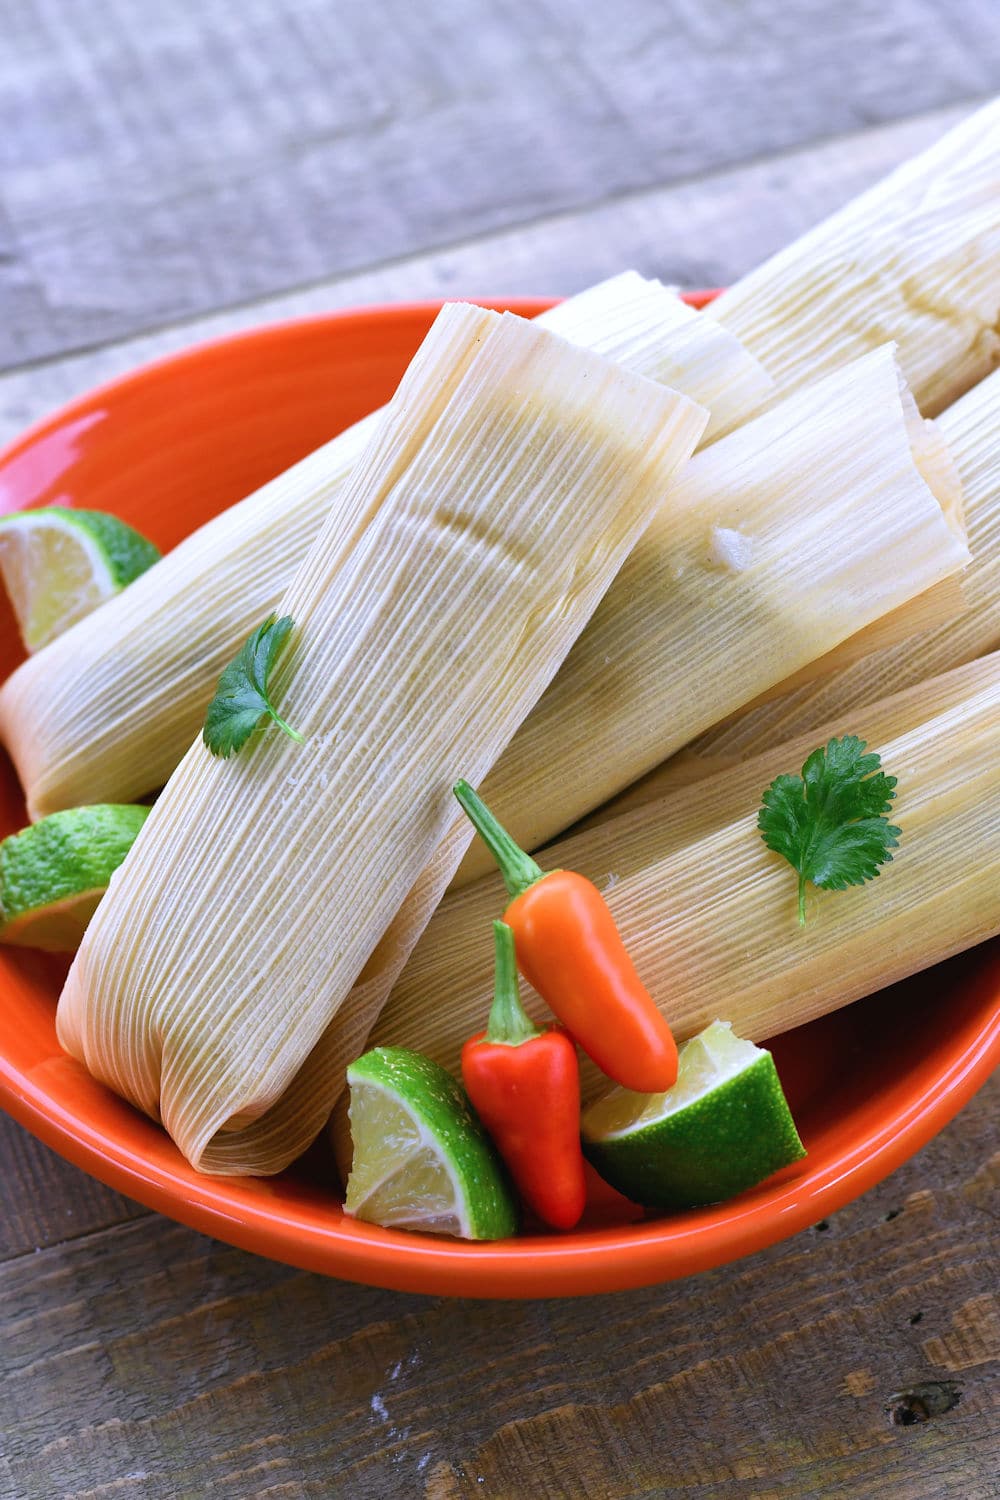
Like most tamales, these are wrapped in softened corn husks to retain the tube shape and to protect them while steaming.
History of tamales
Making chicken green chile tamales certainly isn’t new. It’s hard to know when tamales originated since it was so long ago.
According to We Are Cocina, they are a pre-Columbian dish from Mesoamerica and there is evidence of the tamal from 10,000 years ago! Almost all the Central and South American cultures have adopted tamales to their own style of cooking.
 | Have a browse at all |
Since homemade tamales are wrapped in a corn husk, it makes them completely portable and you can eat them right out of the wrapper.
Just pull it down a little on the sides like you would the paper on a hamburger.
Of course, eating them on a plate is more standard these days. Whatever you do, don’t eat the corn husk, for goodness’ sake.
Are homemade tamales difficult to make?
Homemade tamales aren’t difficult. Far from it. They’re actually fairly easy to make. I’ve been making them for only a couple of months now and the only difficult part is waiting for them to cool off before eating them.
The truth is that tamales are easy to make. There are a lot of steps which make the process seem difficult but it’s not. It’s just time consuming.
Start the night before
I like to start my tamales the night before. It saves time and you don’t feel stressed with all the steps.
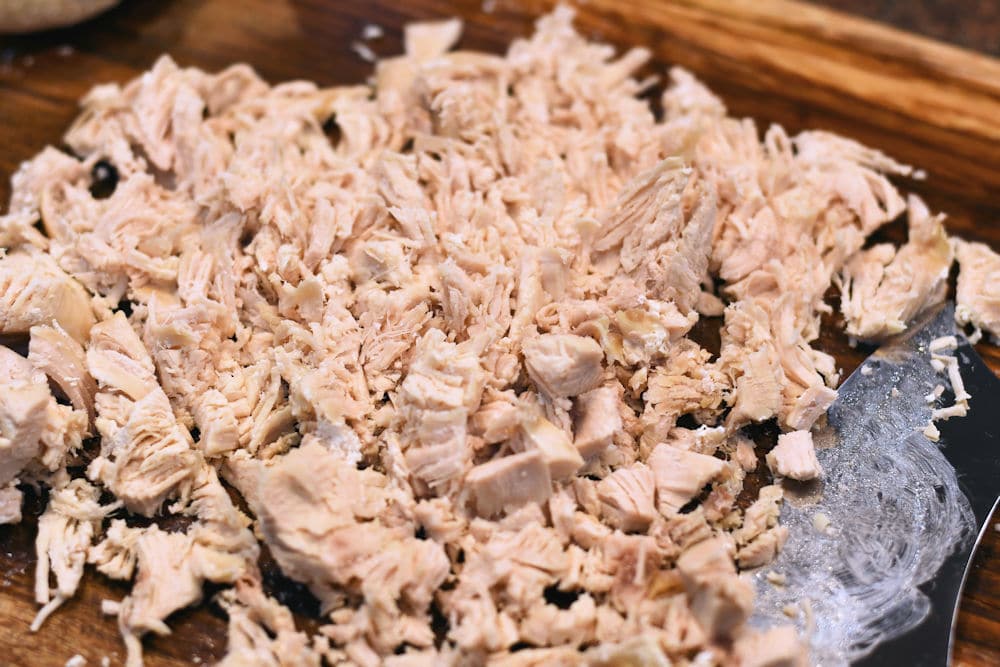
Be sure to shred your chicken while it’s still warm. It’s easier to shred that way.
Steps to getting started with your chicken green chile tamales.
- Start your Green Tamale Sauce.
- In a separate pan, start cooking your chicken in water.
- Wash the corn husks with a brush and cool water. Clean them well. You need to get rid of any debris and silks.
- Place corn husks in a large pan, dishpan or even a cleaned sink, if you want. Fill with water and then place something heavy on top to keep them dunked under the water. Soaking them overnight really helped with assembly.
- Finish up the tamale sauce and shred/chop the chicken. Refrigerate for the next day.
- Go to bed.
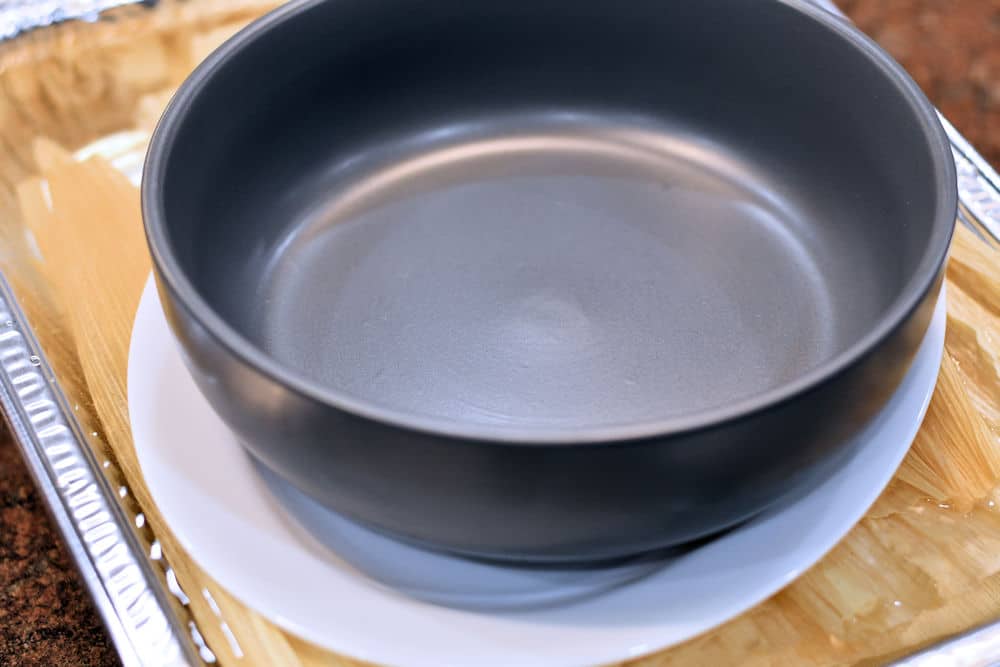
I’ve discovered that a sturdy plate with a sturdy bowl on top works well to keep the tamales dunked in the water while you’re hydrating them.
Shredding the chicken
Here’s something fun to try. I saw this on Pinterest and thought it would be one of those funny Pinterest fails.
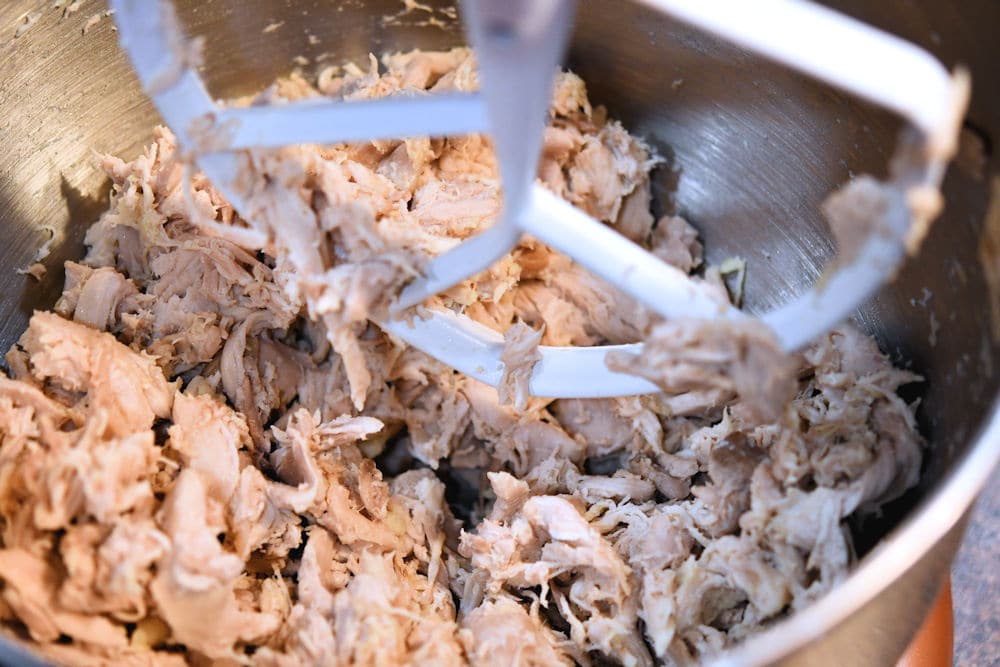
As it turns out, it’s not a Pinterest fail! You can throw your chicken in a mixing bowl and shred it quickly with a mixer. Who knew?
It honestly took about two or three minutes to shred this chicken. So fun!
Give it a try and see how you like it.
Making the masa dough for tamales
When you get ready to start assembling your homemade tamales, start making your masa dough.
- Whisk together the masa harina, seasonings and baking powder.
- Melt the lard and add it to the masa harina mixture together with the tamale sauce. At this point, it will look like wet sand, the kind of sand you can use to make sand castles.
- Add stock, one cup at a time and mix well after each addition until the masa is smooth and has a texture similar to hummus or like cake batter. Let the masa sit there a bit then mix again to see if you need to add another cup of stock.
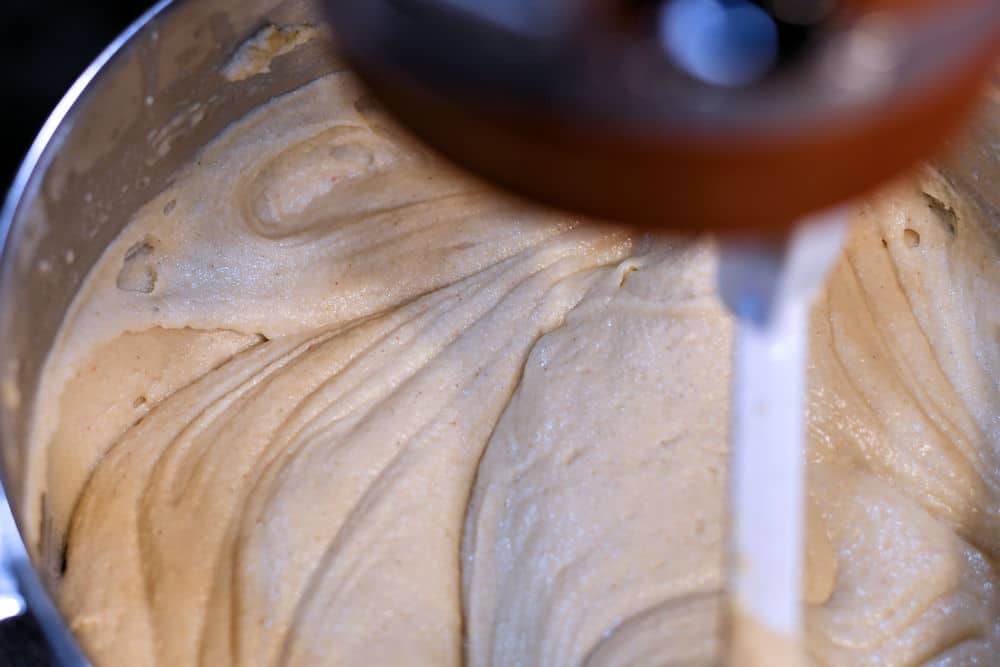
If you’re not into using lard, you can use melted vegetable shortening. I’ve heard that you can also use coconut oil, which turns into more of a solid as it cools. I haven’t tested it yet, though.
If you’re looking for more details on making this easy masa, you can learn how to make tamale masa dough with masa harina.
How to assemble tamales
Time to get started with assembly. You’ll need the bowl with the chicken and tamale sauce and the bowl with the masa dough.
I also like to have a little bowl of water. If the masa dough gets a little sticky and difficult to spread, dip your spoon in the water.
- Pat dry a husk. Inspect it to find the smoother side and place it smooth side up, sideways with the skinnier side toward your non-dominant hand. Hold it there and smooth about two tablespoons of masa dough as shown, leaving the bottom ¾ inch or so without dough.
- Add about one tablespoon filling at the top.
- Fold the top over so the edges are touching then push down on the top at the open edge, push it back a little and fold over to form a tube.
- Fold over the skinnier end and then set in a tray with the folded side down.
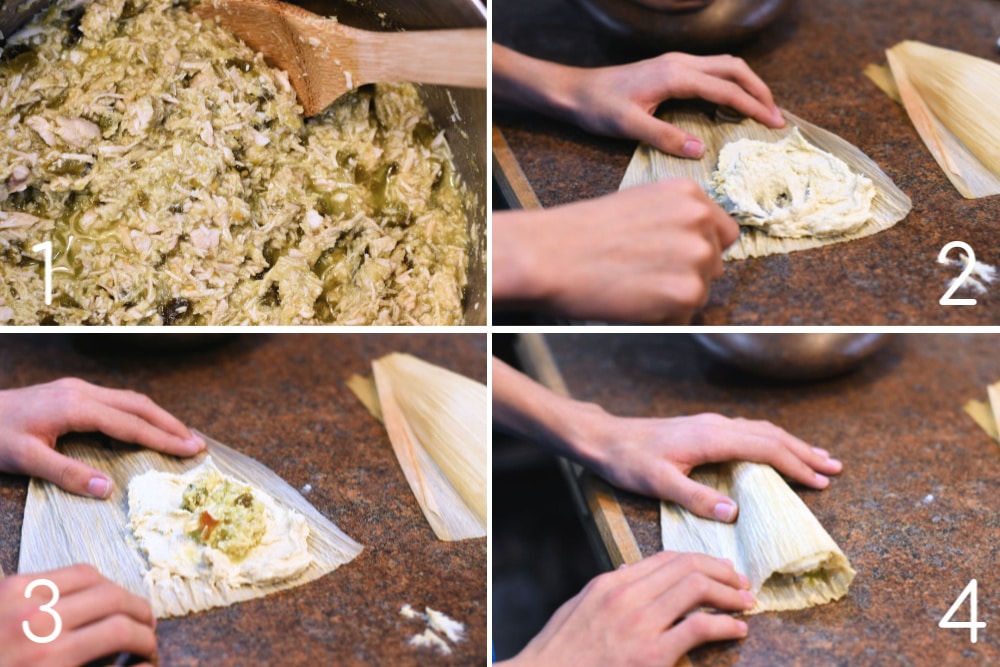
Some of your corn husks may be too big and you can easily tear them down to size. Some of them will be too small and you can set those aside use two small ones with a little bit of the edge overlapping.
If you really want to get creative, you can tear them in tiny strips to tie around the tamales. I didn’t do the tying. It’s not necessary but it makes a pretty presentation, if you want to do that.
Steaming homemade tamales
Now you need to steam the tamales. These are open little packets so you can’t put it into water and baking will dry them out. Your goal is moist tamales.
Have a look at this 32-Quart Stainless Steel Steamer (aff link). It’s the perfect size for all my tamale recipes. It doesn’t stain like aluminum and withstands all the tamales we make during the year. A lot! Have I mentioned how much I love tamales?
If this is your first time making tamales, you may not want to invest in a big tamale steamer. You can easily use a large stock pot or pasta pot.
Put water in the bottom of the pan then put a vegetable steamer baskets in the bottom. Stack up your tamales, with the opening facing up. Cover and begin cooking.
You can see in this photo that I’ve made a squashed ball of aluminum foil. If you put it in the center, it makes it easier to stack the tamales up around it. It makes it easier, especially if you don’t have enough tamales to fill the steamer pot.
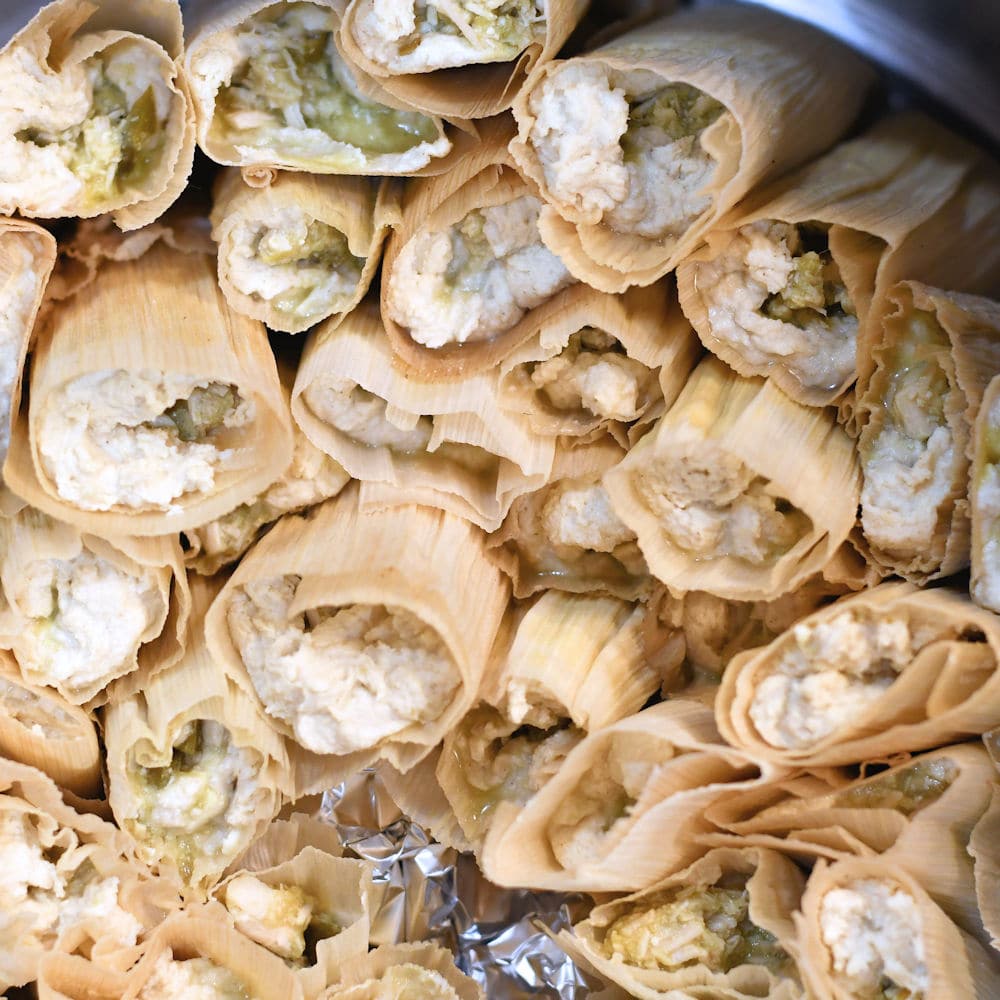
When you’re using a steamer basket, check your water level every 10 or 15 minutes and refill as necessary. Don’t pour the water directly on top. You’ll need to move the tamales out of the way and pour down the middle.
If you want, put marbles or a coin in the water. As long as they’re bouncing around in the bottom, you still have water. If they stop making noise, there’s no more water.
When you remove the cover to check the tamales, try not to get any water from the lid directly on the tops of the tamales.
How about a tamale steamer?
If you’re going to be doing this more than once, you may want to invest in a Tamale Steamer.
It’s really not very expensive and makes it a lot easier to steam the tamales without contantly worrying about the water level.
Okay, yes, you’re finished after about 60-90 minutes of steaming. Now you know why people make homemade tamale making into a party with family and friends!
This recipe is going to make about 40-50 tamales. Leave them in the corn husks until you are ready to eat them. You can eat some then store the rest in the freezer.
New to making tamales?
If you’re just starting out or this is your first time making tamales, try my beginner tamale recipe. It makes a small batch of only about 15-16 tamales instead of a large 40-50.
The recipe is at Instant Pot Chicken Tamales with No Lard.
More tamales, please!
Tamales can be made in many different flavors, savory or sweet. Try out one of these delicious variations.
Check out my Homemade Chorizo Tamales recipe.
Or, you may want the more traditional Homemade Pork Tamales.
Or try this other slow cooked pork recipe for Cuban Mojo Tacos.
How about a sweet dessert tamale? Get your Raspberry Tamale recipe too.
More to come as we gear up for your Cinco de Mayo celebrations!
Be sure to also check out my new Mexican Rice Pudding! You’ll love it.
Recipe

Chicken Green Chile Tamales Recipe
Tap to leave a star rating
For more information, be sure to check the recipe details in the attached 24Bite® post.
Equipment
- Stock Pot and Steamer Basket or Tamale Steamer
Ingredients
Corn Husks
- 16 ounces Corn Husks, softened in water overnight, approx. 45
Chicken Filling
- 4 Boneless Skinless Chicken Breasts, approx. 2.25 pounds
- 1 quart Green Chile Tamale Sauce, from linked recipe, divided
- 8 ounces Diced Jalapeños, canned
- 1 tablespoon Salt
- 1 tablespoon Onion Powder
- 1 tablespoon Garlic Powder
Masa Dough
- 6 cups Masa Harina, like Maseca
- 2 tablespoon Baking Powder
- 1 tablespoon Salt
- 1 tablespoon Onion Powder
- 1 tablespoon Garlic Powder
- 1 tablespoon Ground Cumin
- 1 pound Lard, melted
- ¾ cup Green Chile Tamale Sauce, from linked recipe
- 5-6 cups Chicken Stock
Instructions
Preparing Corn Husks
- Being careful not to rip the corn husks, wash with cool water and a brush to remove all debris and corn silks.
- Place in a large pan or dishpan or even in a clean sink. Fill with cool water to cover the husks. Place a large heavy dish or plate on top to ensure that the husks are all underwater. Leave them overnight.
Preparing Chicken Filling
- Boil chicken at medium heat in enough water to cover until done. Remove from water and shred with forks. Cut the shreds to make sure there are bite sized shreds.
- Set aside ¾ cup of tamale sauce to be used in the masa dough.
- Place chicken, remaining tamale sauce and remaining chicken filling seasonings in medium saucepan. Heat on medium until almost boiling, turn to low and simmer for 30 minutes. Remove from heat and set aside.
Preparing Masa Dough
- Whisk together masa harina, baking powder and seasonings.
- Melt lard. You can melt it on the stovetop. I melted it in a glass measuring cup in the microwave for two minutes.
- Add lard and ¾ cup Tamale Sauce to masa harina mixture. Mix well. It will look like wet sand like you would use to make sand castles.
- Add one cup of stock at a time and mix well until you have FOUR CUPS stock in the masa. Let sit for about 20 minutes for the liquid to soak into the masa harina. You are looking for the consistency of hummus or cake batter. Continue adding stock about ¼ cup at a time, as necessary, to reach the right consistency for spreading easily.
Assembling the Tamales
- Separate and pat dry a few husks at a time. Inspect to ensure that you have the smooth side facing upwards. Turn it vertically and hold the skinnier end with your non-dominant hand. Spread about two tablespoons masa dough as shown in the photos above.
- Spread about one tablespoon of the filling in a line close to the top.
- Fold the husk vertically, edge to edge. With your dominant hand, push the top back a little with the filling and curl toward you to form a tube. Fold over the skinnier end and place in a tray with seam side down. Repeat until you run out of one of the ingredients (husks, masa or filling).
Steaming the Tamales
- In a large stockpot, place a steamer basket and fill with water up to the basket. Stack the tamales straight up in the stock pot with the fold at the bottom.
- Cover and heat to boiling then reduce heat to low to keep the water steaming through the tamales. Check the water level every 10-15 minutes when using a steamer basket since the water level is already low. You don't want the water to dry up. When replenishing water, move the tamales out of the way before pouring so you don't get extra water inside the tamales. When removing the lid to check the tamales, try not to tilt it since this might add water to the inside of the tamales.
- Cook for 60 to 90 minutes. After about 60 minutes, pull out one of the tamales and remove it from the husk to check for doneness. If it comes clean from the husk, it's done. If not, keep going for 15 minutes and try again. If still not quite done, you'll need 15 minutes more.
- Remove from heat. Serve immediately. Allow to cool completely before storing in the refrigerator or freezer. When storing, leave them in the husks.
Note: If there is a video, it will not display while there is an adblocker.
Notes
Percent Daily Values are based on a 2000 calorie diet. All amounts are estimates and 24Bite® takes no responsibility for actual figures since calculations vary by packaging and supplier. Please calculate the amounts yourself based on package labeling if you have specific dietary requirements. 24Bite®, Kim Guzman or Christian Guzman shall not be liable for adverse reactions or any other outcome resulting from the use of recipes or recommendations on this website or actions you take as a result.
© 2019-2024 Kim Guzman and Christian Guzman. All rights reserved. Subscribe to 24Bite email newsletters.
Follow 24Bite:



Nakiya Vines says
I loved your recipe. All my life I’ve been making tamales and we always went to the local amapola deli & market to get 40 pound of masa. I just had a baby and my husband found out he has type 2 diabetes. So now I’ve been sticking to eating better & doing more cooking at home. I did not want to use lard so I used 1 1/2 cup of nutiva red palm and coconut oil shortning and 1/2 cup of robust extra Virginia olive oil. In place of the salt I used Goya Adobo seasoning instead . Other than that followed the recipe. I made chicken with thr green Chile & pork with the red. They are very delicious, my family didn’t even notice a difference I have truly learned that eating better can still taste really good. I’m so excited to let the rest of the family taste them for Christmas. I’m going to tell them about the changes after they all eat them.
Christian Guzman says
Thank you! I love that you tried some options. We haven’t been able to really tell a difference either. Merry Christmas and thank you for visiting!
Gwynn Galvin says
I always order tamales when I go out to eat and am so excited that I can now easily make them at home with your recipe! Yum!
Amy Liu Dong says
Indeed! Homemade tamales are easy to make! I made some the other day and they were so good!
Jamie says
I love Tamales so much! I remember my grandma making this for us when I was a little and it was really delicious. I will definitely make this for my family! Yum!