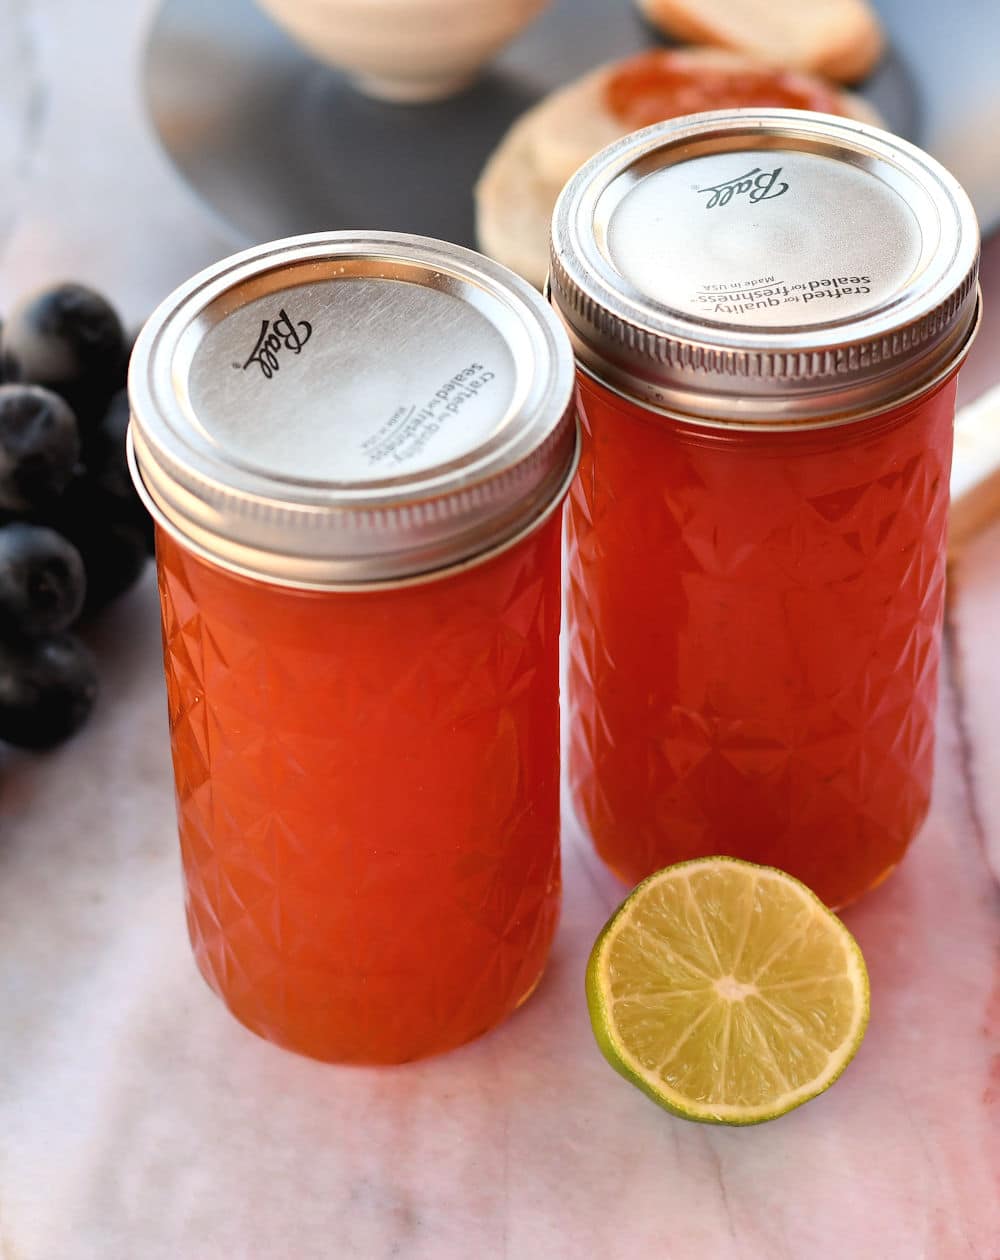
Papaya jelly can be made easily with only four ingredients. Bring a tropical taste to your next breakfast or brunch with this delicious, fruity papaya jelly combined with citrus juices from orange and lime.
Mom told me that when she was growing up, she had papaya and mango trees growing near their house in Hawaii. They had guava trees with passion fruit vines entwined on them and even the stray pineapple, eaten warm, right off the plant.
When we were shopping the other day, there were some papayas. They weren’t Hawaiian papayas, though. They were HUGE papayas. I wanted to give them a try, especially because I like to try as many different fruits and vegetables as possible.
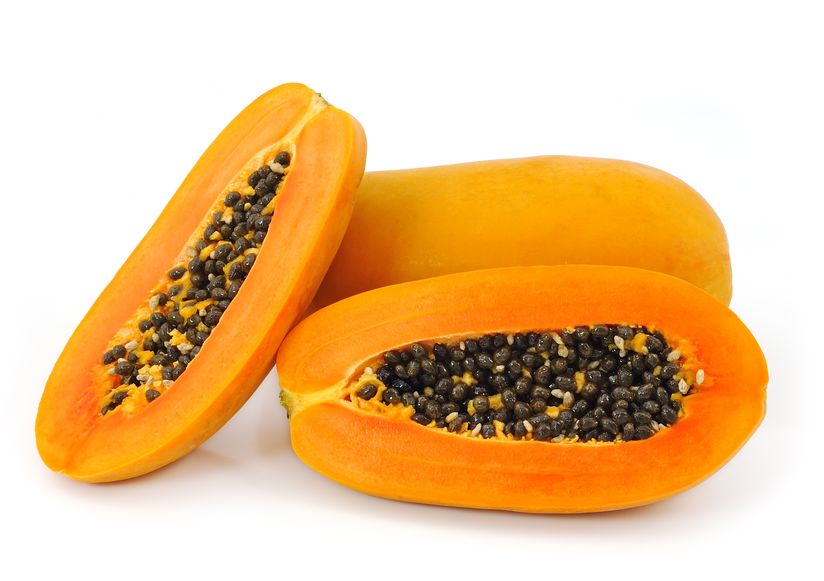
When I cut up this papaya, I ended up with two entire quarts of chunks. I liked it but wasn’t overly thrilled with it so I did a little research to see whether I could turn the fruit into jelly. Let the spontaneous jelly experiment begin!
For a couple of years, mom has been experimenting with making jelly without adding commercial pectin, so it’s always a surprise. This one turned out very well and tastes fabulous. It’s a beautiful orange color and I can’t wait to try some on a breakfast roll.
 | Have a browse at all |
To begin, peel the papaya and remove all the “caviar-looking” seeds. Cut the papaya into chunks. This recipe calls for 2 quarts of chunks papaya which is about two papayas or one very large papaya.
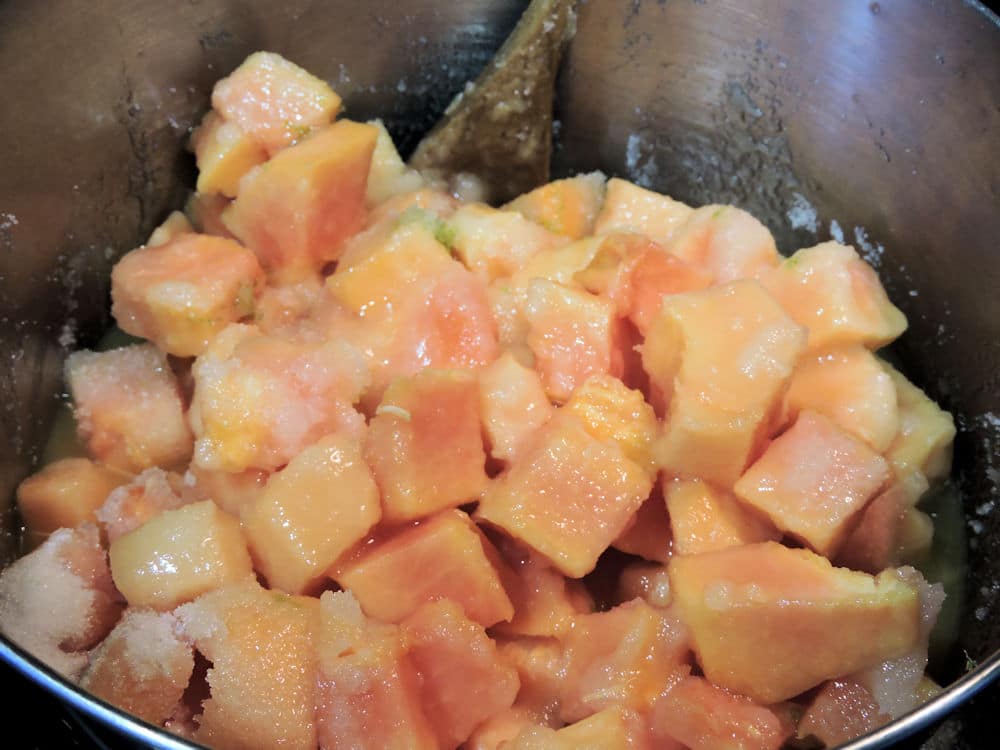
Note that these are Mexican papaya which are larger and less sweet than Hawaiian papaya. If you’re using Hawaiian papaya, you’ll need more of the fruits in order to get two quarts and you may want to reduce the sugar since they’re sweeter.
Be sure to use the juice and lime. These ingredients are important for your jelly to set. If you don’t have orange juice, try pineapple juice instead.
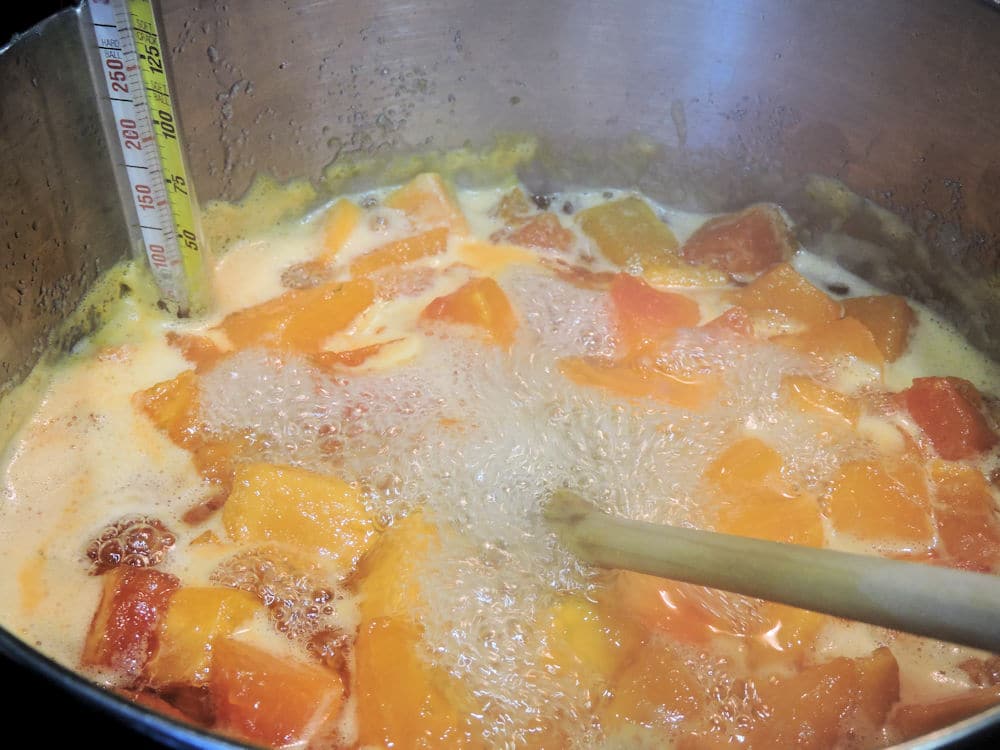
Always ensure that you’re using a deep pan when making jelly. It tends to foam up and you don’t want it to boil over onto your stove.
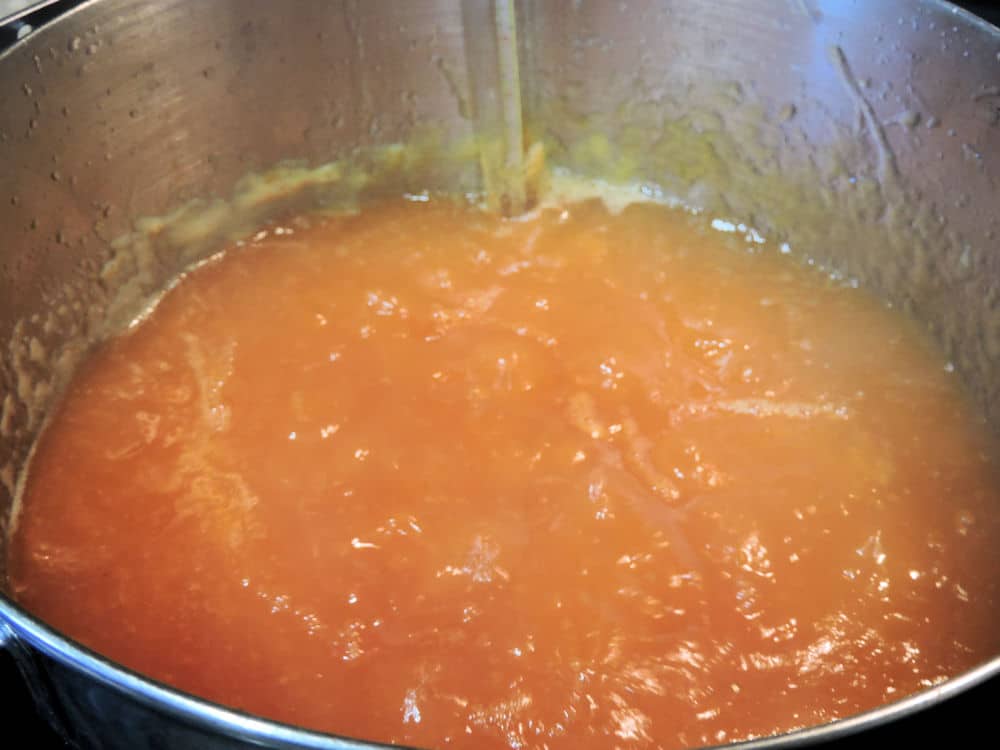
It’s boiling down nicely but there are still some chunks of papaya. The riper the papaya, the more easily it will break down for jelly.
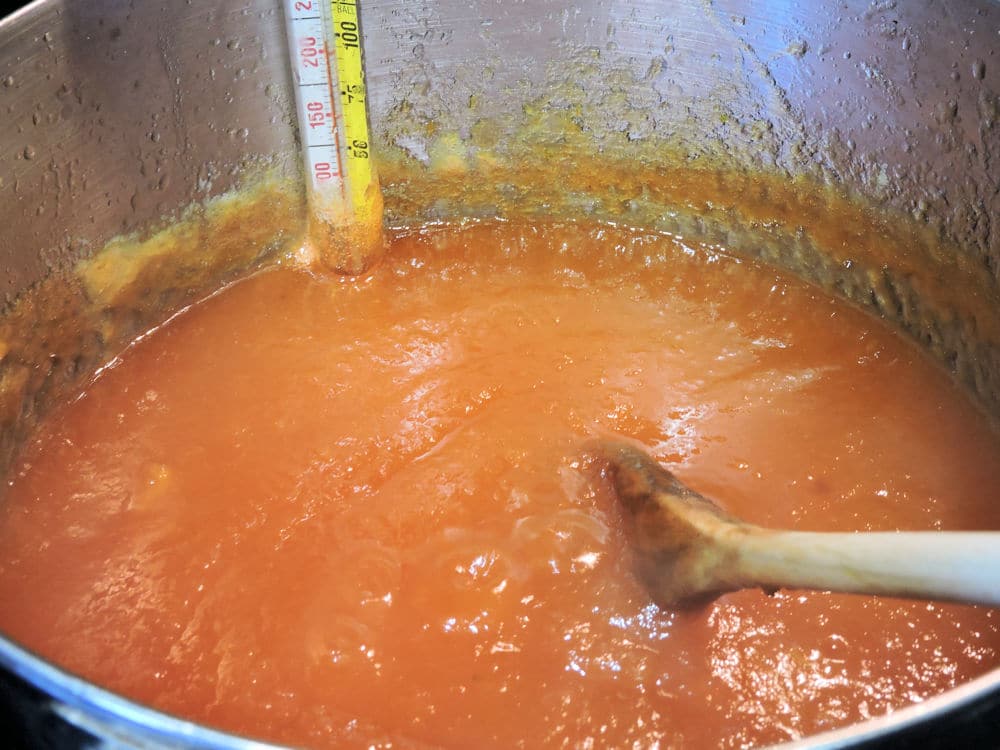
We decided to go ahead and use the immersion blender to remove all the chunks but chunks aren’t a bad thing, either. Leave them, or not, whichever you prefer.
Mom says that making jelly never really made sense to her when she was reading about the spoon in the freezer and running your finger through it to see if it sets. Maybe if I had someone teaching me, I would understand it, but I didn’t either.
Once she learned that making jelly is scientific, it was so much easier! And, I definitely approved this method too. Gotta love science!
You just bring it to 220°F for jelly. This number changes when you’re not a sea level, so be sure to check your perfect recommended jelly temperature.
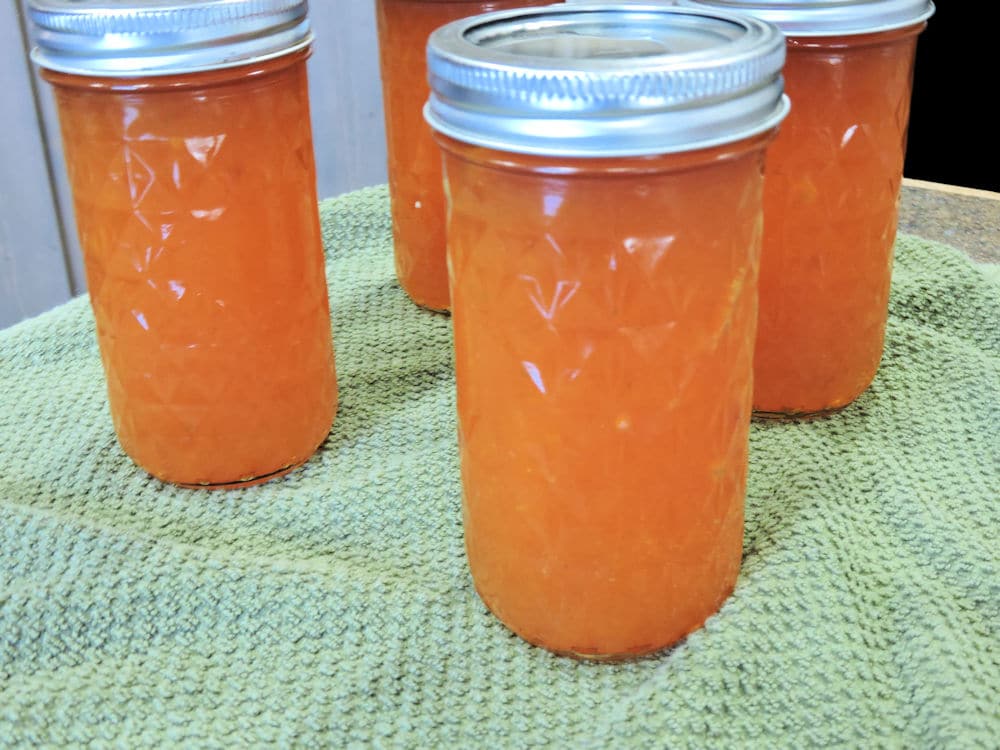
This recipe made about 50 ounces of delicious papaya jelly. Look at that color! So yummy!
At this point, you have jelly. You don’t need to do anything further to have jelly. You can put it in the refrigerator or freezer. We prefer shelf stable so we process it in the water bath canner. We don’t go through jelly quickly enough so shelf stable works much better. This jelly will last all year, until papaya comes into season again.
It’s really easy to preserve a batch of jelly but have a look at the instructions to make sure you’re preserving your jelly safely.
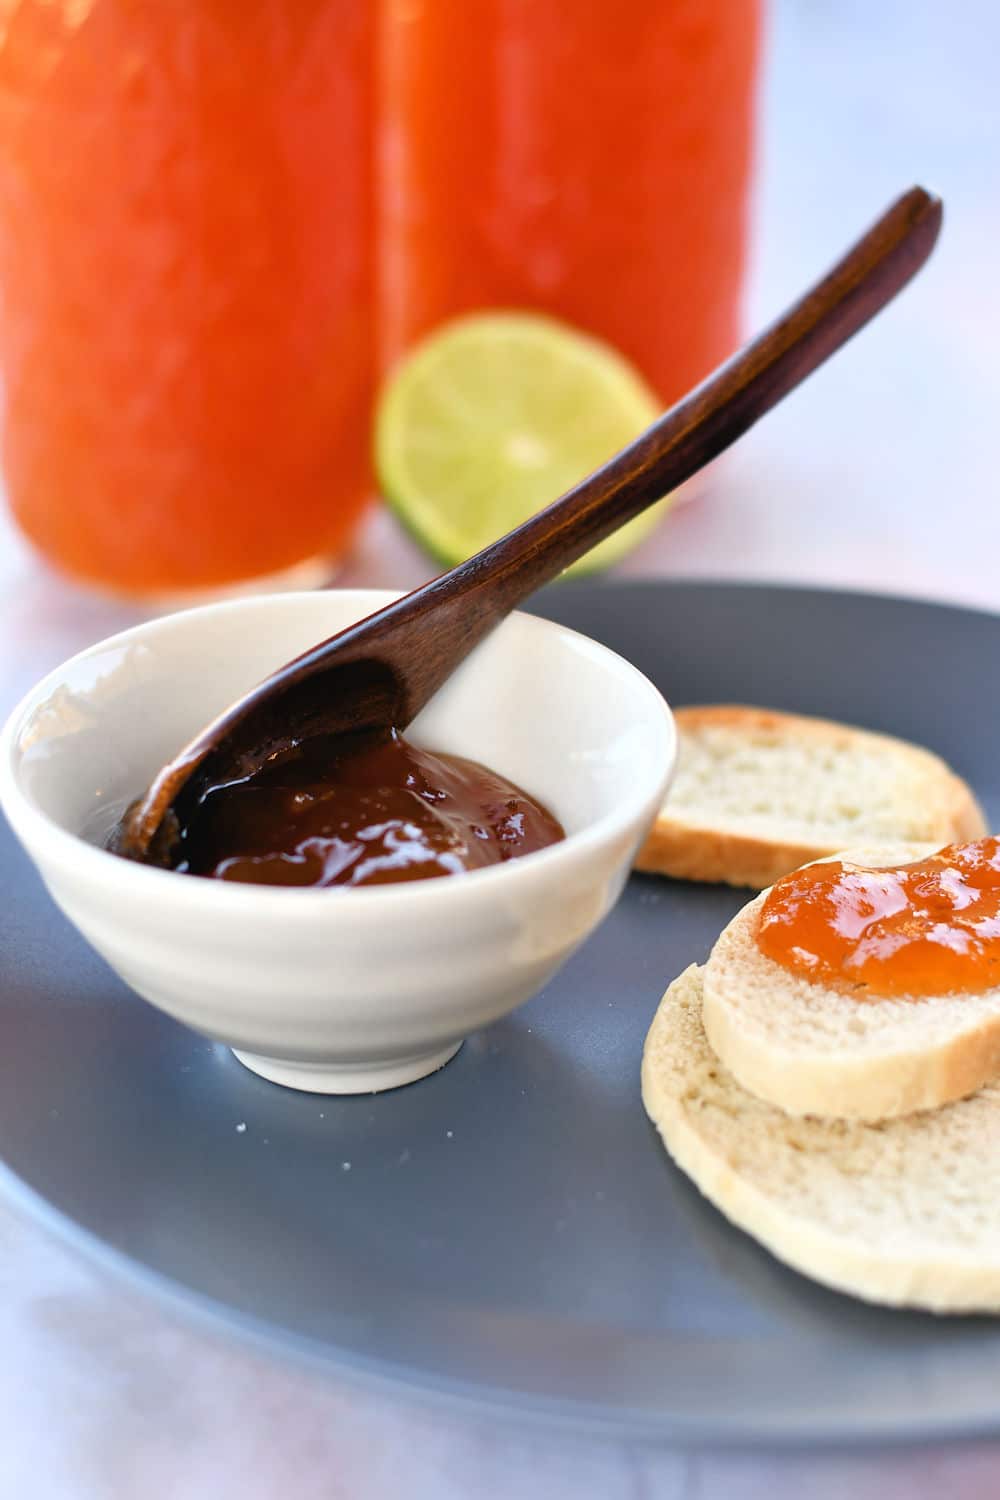
You will fill four 12-ounce jars, six 8-ounce jars or twelve 4-ounce jars. I had just a smidge leftover and I put that directly into the refrigerator for breakfast in the morning.
For more breakfast and brunch ideas, try one of these:
Recipe

Papaya Jelly Without Commercial Pectin
Tap to leave a star rating
For more information, be sure to check the recipe details in the attached 24Bite® post.
Ingredients
- 2 Large Papayas
- ½ Cup Orange juice
- 1 Lime, juice and zest only
- 4 Cups granulated sugar
Instructions
- Peel and remove seeds from papayas. Cut the fruit into chunks, enough for two quarts of chunked fruit. Discard fruit of lime after juicing and zesting.
- Place all ingredients in a heavy-bottomed pan over medium heat. Place candy thermometer on side of pan to keep track of the temperature.
- Bring mixture to a boil, stirring frequently. Continue to boil, still stirring frequently, until the mixture begins to thicken, about 25 minutes. Be sure to use a pan with high sides since jelly foams up at first and you don’t want it to boil over.
- If the papaya doesn’t break down as much as you would like, use an immersion blender to remove any chunks.
- Continue boiling, stirring frequently. Watch the thermometer. The jelly is ready when it reaches 220℉. Note that this is the sea level recommended temperature. Check the link above to determine the temperature when you’re above sea level.
- At this point, you can cool the jelly then place in jars for the refrigerator or freezer. Or, if you prefer shelf stable, water bath as recommended.
- Makes about four 12-ounce jars, six 8-ounce jars or twelve 4-ounce jars.
Note: If there is a video, it will not display while there is an adblocker.
Percent Daily Values are based on a 2000 calorie diet. All amounts are estimates and 24Bite® takes no responsibility for actual figures since calculations vary by packaging and supplier. Please calculate the amounts yourself based on package labeling if you have specific dietary requirements. 24Bite®, Kim Guzman or Christian Guzman shall not be liable for adverse reactions or any other outcome resulting from the use of recipes or recommendations on this website or actions you take as a result.
© 2019-2025 Kim Guzman and Christian Guzman. All rights reserved. Subscribe to 24Bite email newsletters.
Follow 24Bite:
