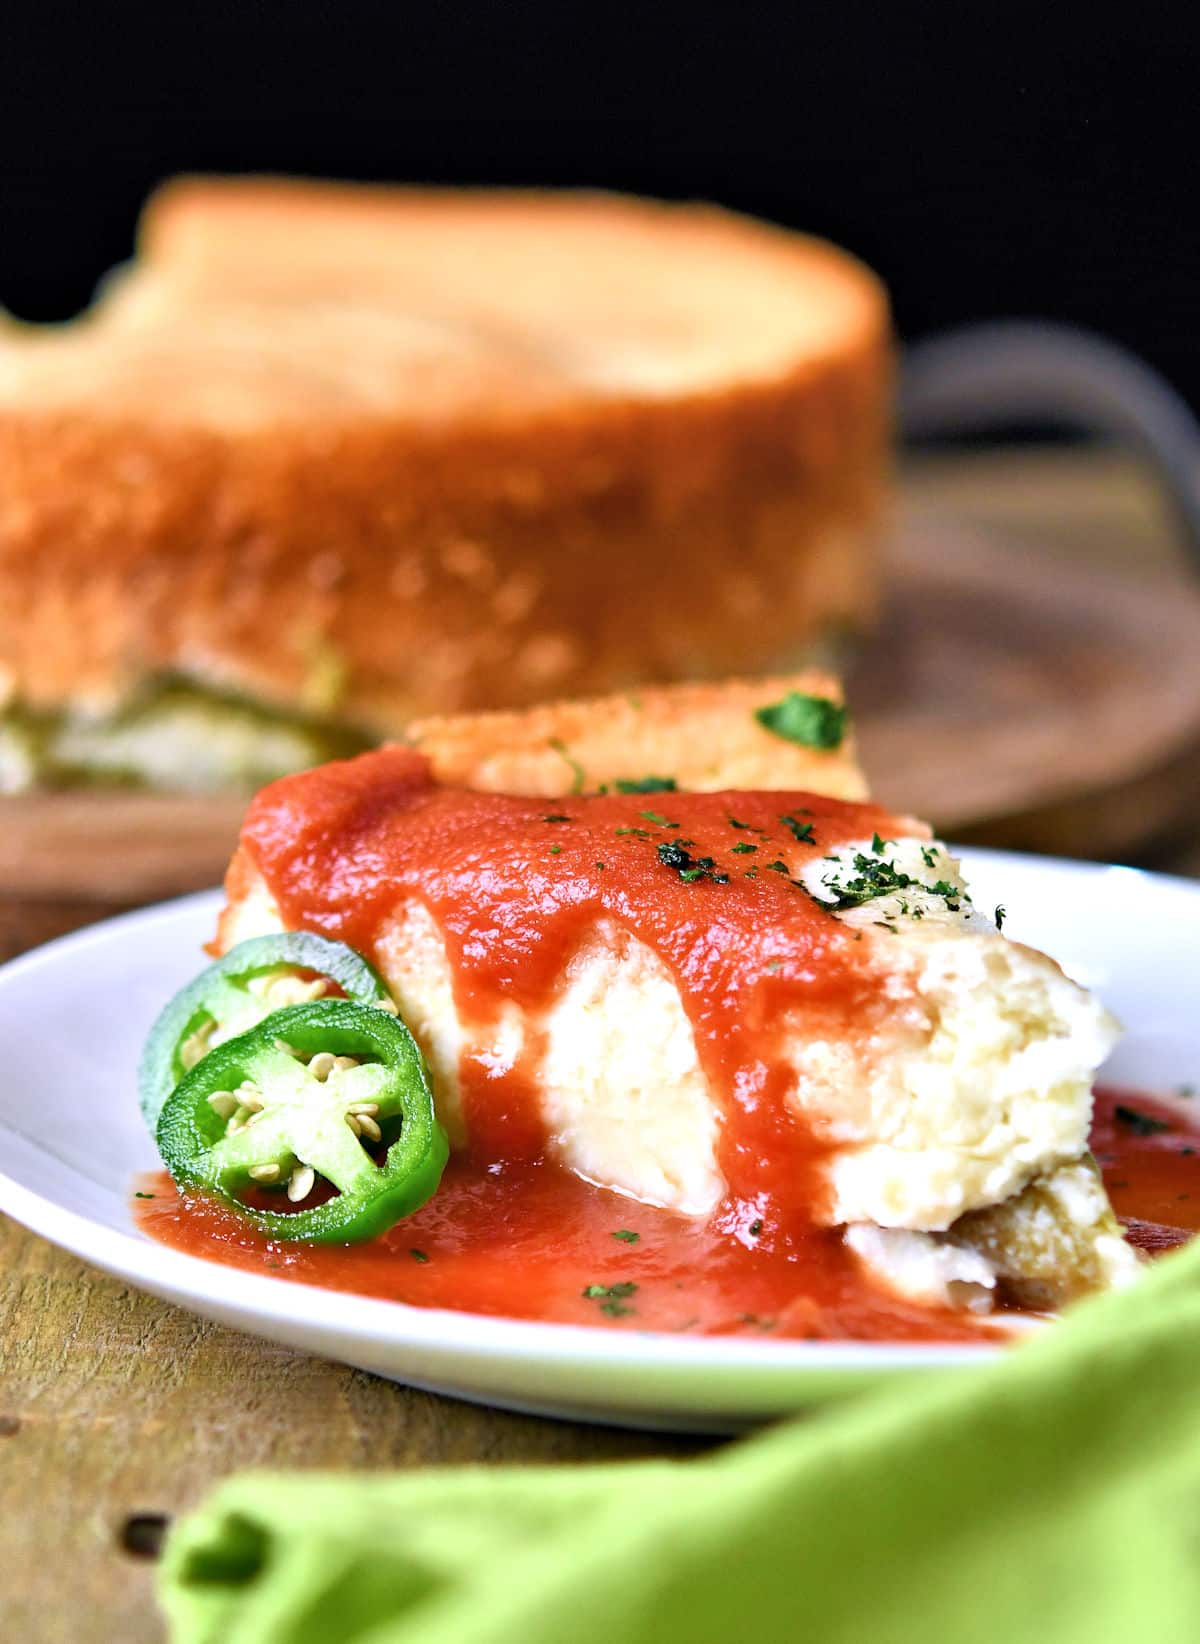
Chili Relleno Casserole is a tasty alternative to traditional Chiles Rellenos. Make it easy with canned chiles! It has all the taste you love without the fuss and extra calories of frying.
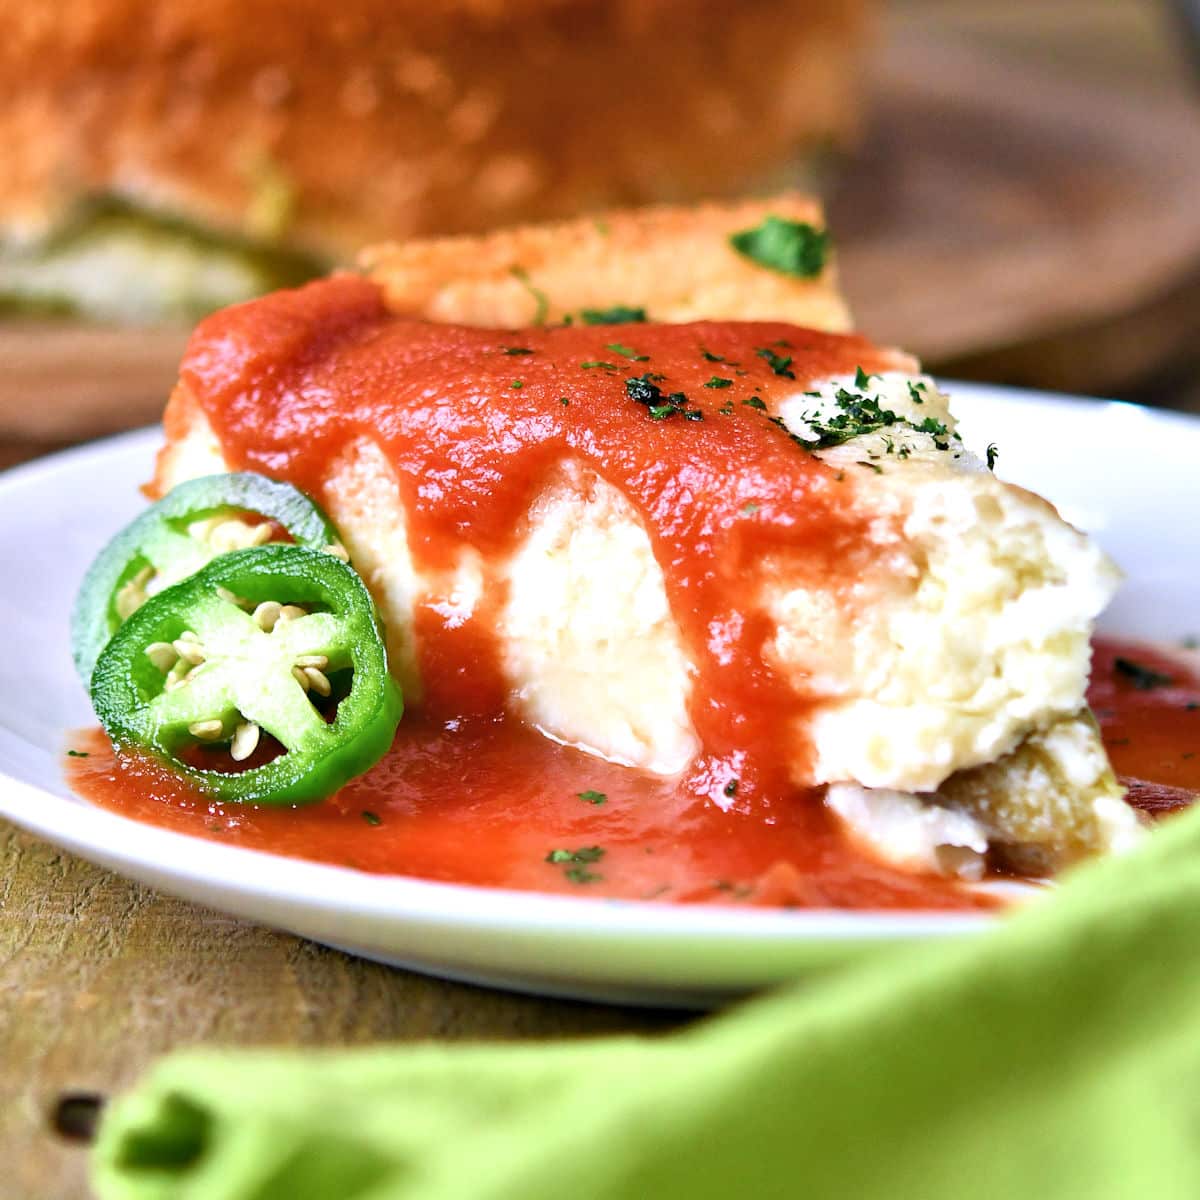
If you’ve had traditional chiles rellenos, you will remember the sort of fluffy outside that seems more like a thick pancake batter. Unlike other casseroles I’ve seen, this one doesn’t have the custard-like texture but rather, more of the same kind of fluffy batter in the traditional version.
- What Kind of Chiles in Chili Relleno Casserole?
- Can I Use Canned Green Chiles?
- What Cheese to Use for Chiles Rellenos?
- What’s the Difference Between Chile Poblano and Chile Relleno?
- What is Chile Relleno Batter Made Of?
- Recipe
Ingredients
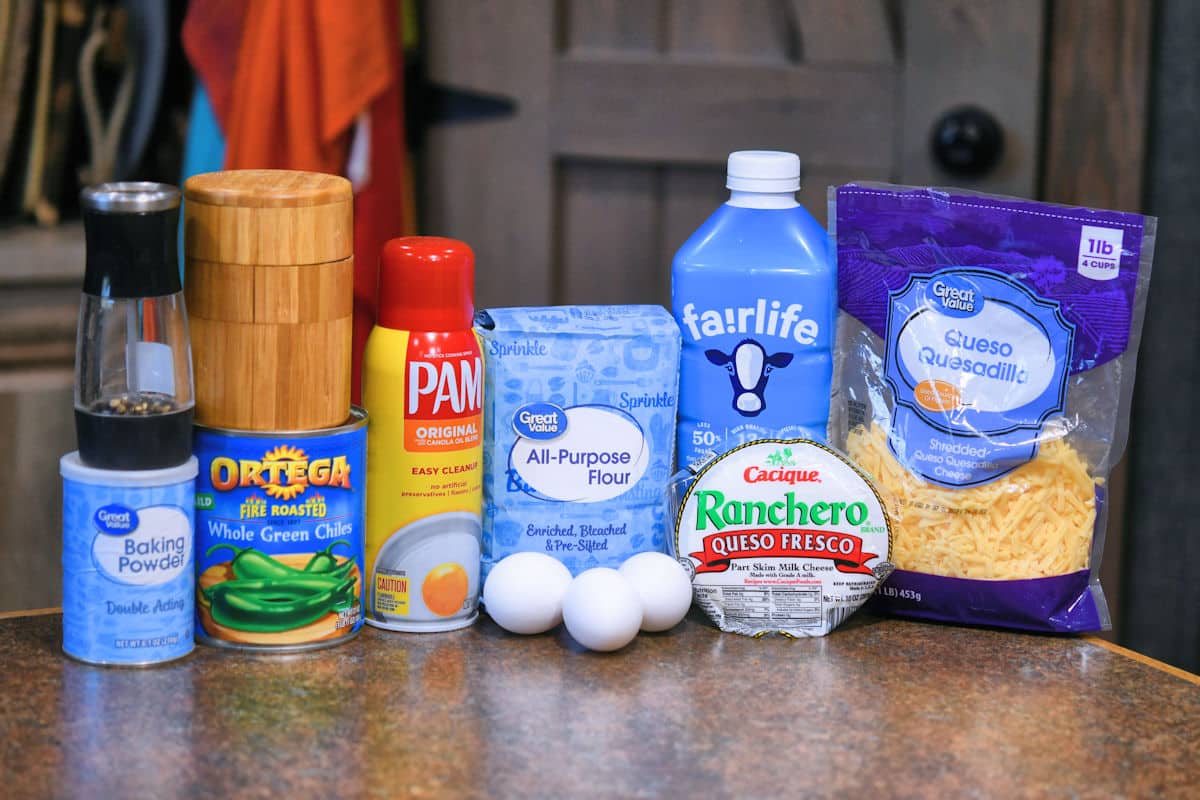
This is a meatless recipe, flavored with cheese and green chiles. It’s suitable for breakfast, lunch or dinner. There are only a few ingredients. What’s wonderful about this recipe is that it’s so much easier than traditional chiles rellenos.
What Kind of Chiles in Chili Relleno Casserole?
I don’t know about you, but I was unable to find Anaheim chiles for months. Fortunately, I was able to find these canned whole green chiles from Ortega. They turned out to be so convenient that mom ordered three more cans!
These green chiles are already peeled. You just slit them down the side and remove a few seeds before filling them with cheese. So easy!
 | Have a browse at all |
Can I Use Canned Green Chiles?
Yes! I made this chili relleno casserole very easily by using canned whole green chiles. I didn’t know you could get chiles like this until I had to go looking for them since there were no fresh Anaheims.
These peppers from Ortega in the 27 ounce can are either Anaheim or very close. They’re completely mild and they’re just perfect for stuffing with cheese. In fact, if you want any spicy heat, you might want to consider Pepper Jack cheese.
Can I Use Fresh Anaheim Chiles?
Yes! If you have some fresh Anaheim chiles, you can roast and peel them for this dish.
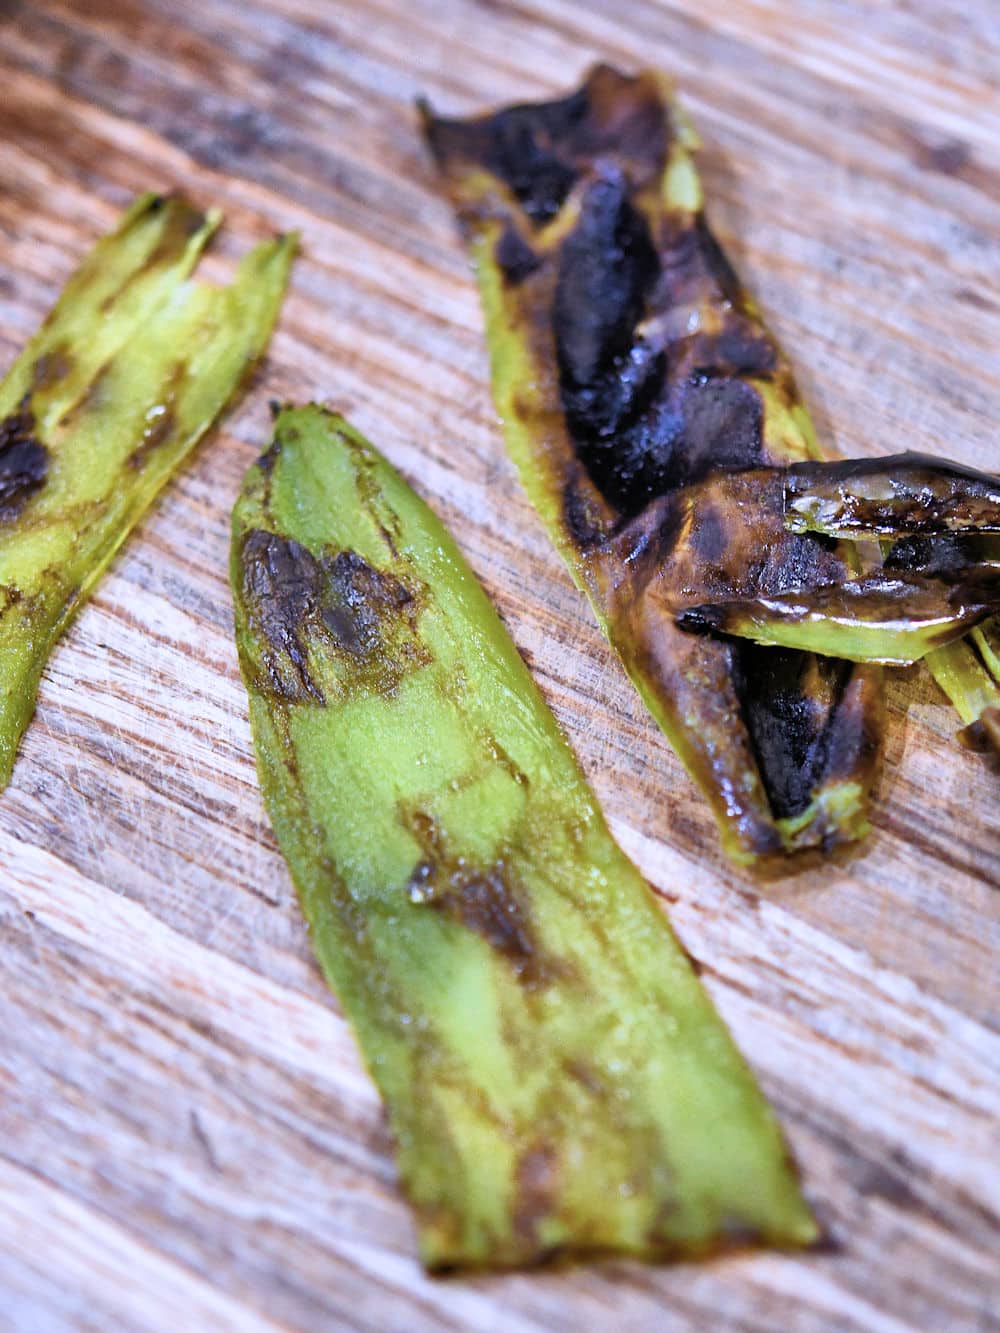
Roast your chiles under the broiler for about 10-20 minutes (depending on your oven), turning halfway. Immediately place the charred peppers in a bowl with plastic wrap. Allow them to “sweat” like this for 10-15 minutes. Once they cool, you can remove the skin easily by pulling or rubbing it with your fingers. More details about roasting chiles here.
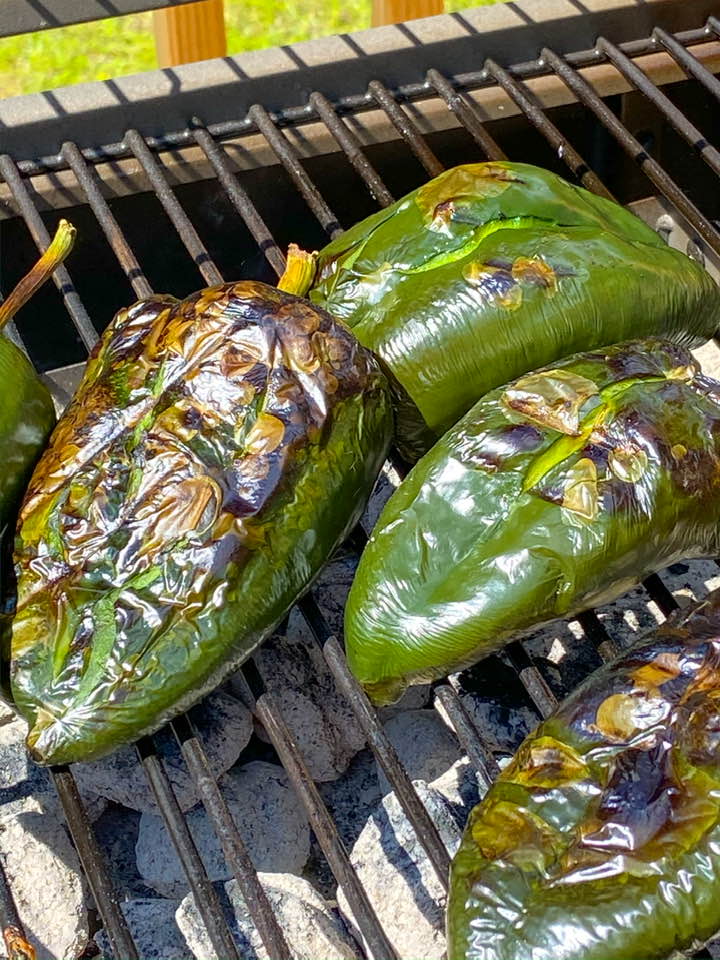
Can I Substitute Poblano Peppers?
Poblano chiles are also mild peppers and will be a good substitute. The are usually about twice (or more) as big as an Anaheim. You won’t need as many to fill the pan. Add more cheese since the cavity will be bigger.
What Cheese to Use for Chiles Rellenos?
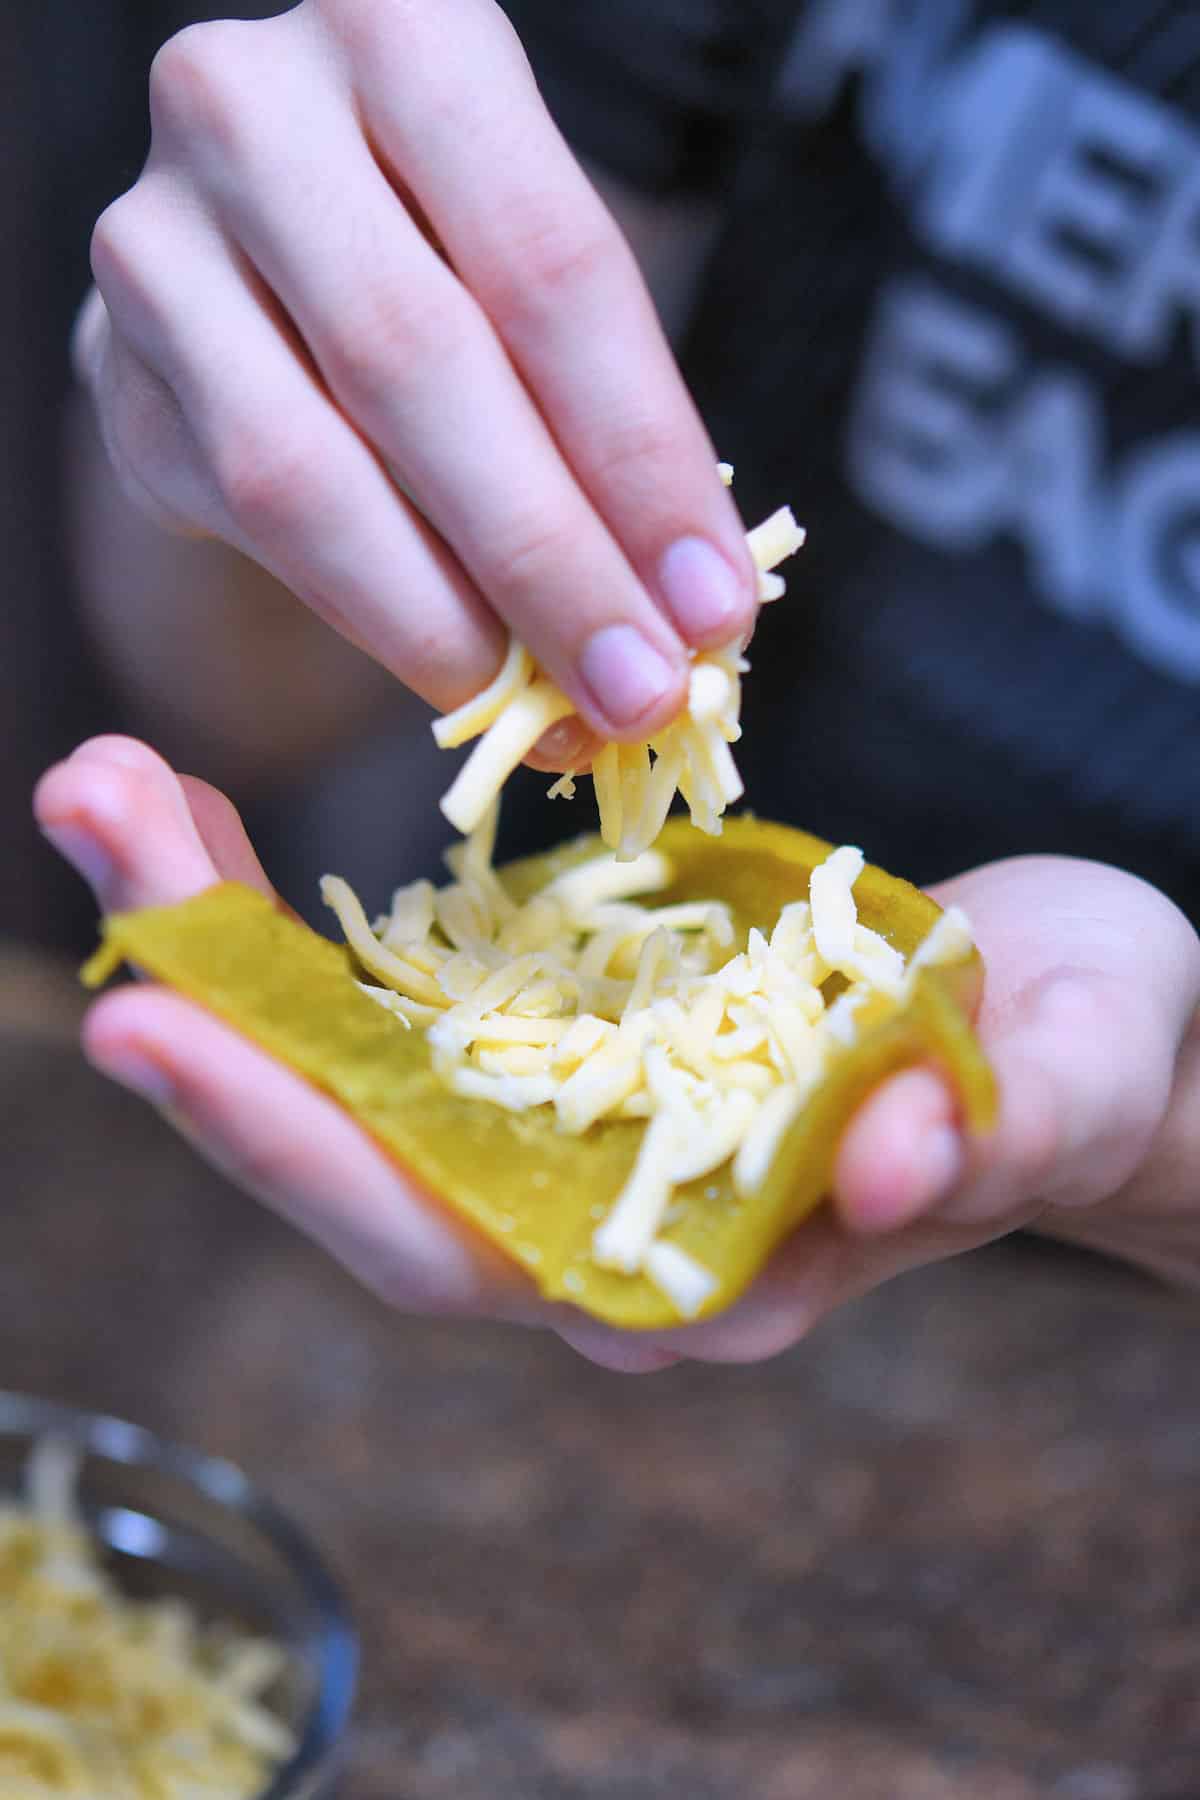
I like to use a nice melting cheese for this chili relleno casserole. The cheese melts and fills up inside of the chile peppers.
I like to use Monterey Jack or Queso Quesadillo. You can also use Pepper Jack for something more spicy or even Mozzarella.
In addition to the melty cheese, I’ve also added Queso Fresco. This cheese is delicious and adds a really nice tangy taste. You could use Feta, Parmesan, Romano or Cotija. If you only have Cheddar, you go right ahead and use it. All cheese, all the time.
Frequently Asked Questions
A chile poblano is the name of an actual chile pepper. Chile Relleno is Spanish for “stuffed pepper”. The chile itself could be any pepper. Usually, you’ll find Anaheim, Poblano, Hatch or Cubanelle in most recipes.
There are two parts to the batter. First you separate the eggs. Whip the egg whites until stiff peaks form. Mix the yolks with some flour, baking powder, milk and seasonings. Gently fold the yolks into the whipped egg whites. It’s an egg/flour batter but it has a fluffy texture because of the air whipped into it.
More Recipes
If you are looking for Mexican Recipes, here are a few of my favorites.
- Cheese Entomatadas Recipe
- Tortilla Chips from Scratch
- Mexican Red Rice (use vegetable stock instead of chicken)
- Chicken Birria Tacos
Recipe
Chili Relleno Casserole Recipe
Tap to leave a star ratingFor more information, be sure to check the recipe details in the attached 24Bite® post.
Equipment
- 9" springform pan or
- 9 x 11" baking dish
- Standing mixer or hand mixer
Ingredients
- 10 Anaheim Chiles, used Ortega Mild Whole Green Chiles, 27 ounce can
- 12 ounces Monterey Jack Cheese, or Queso Quesadilla Cheese, shredded
- 5 ounces Queso Fresco, crumbled
- 3 large Eggs
- ½ cup Flour, all purpose
- 1 ½ cups Milk
- 1 teaspoon Baking Powder
- Cooking Spray
Instructions
- Preheat oven to 350℉.
- Spray a 9" springform pan or 9×11" baking dish with cooking spray. Parchment paper will also help to keep from sticking. Spray the parchment paper.
- Remove the green chiles from the can and make a slit lengthwise to open up. Remove any seeds and membranes, being careful not to tear the chile. Pat dry thoroughly with paper towels. Very important to get them as dry as possible.
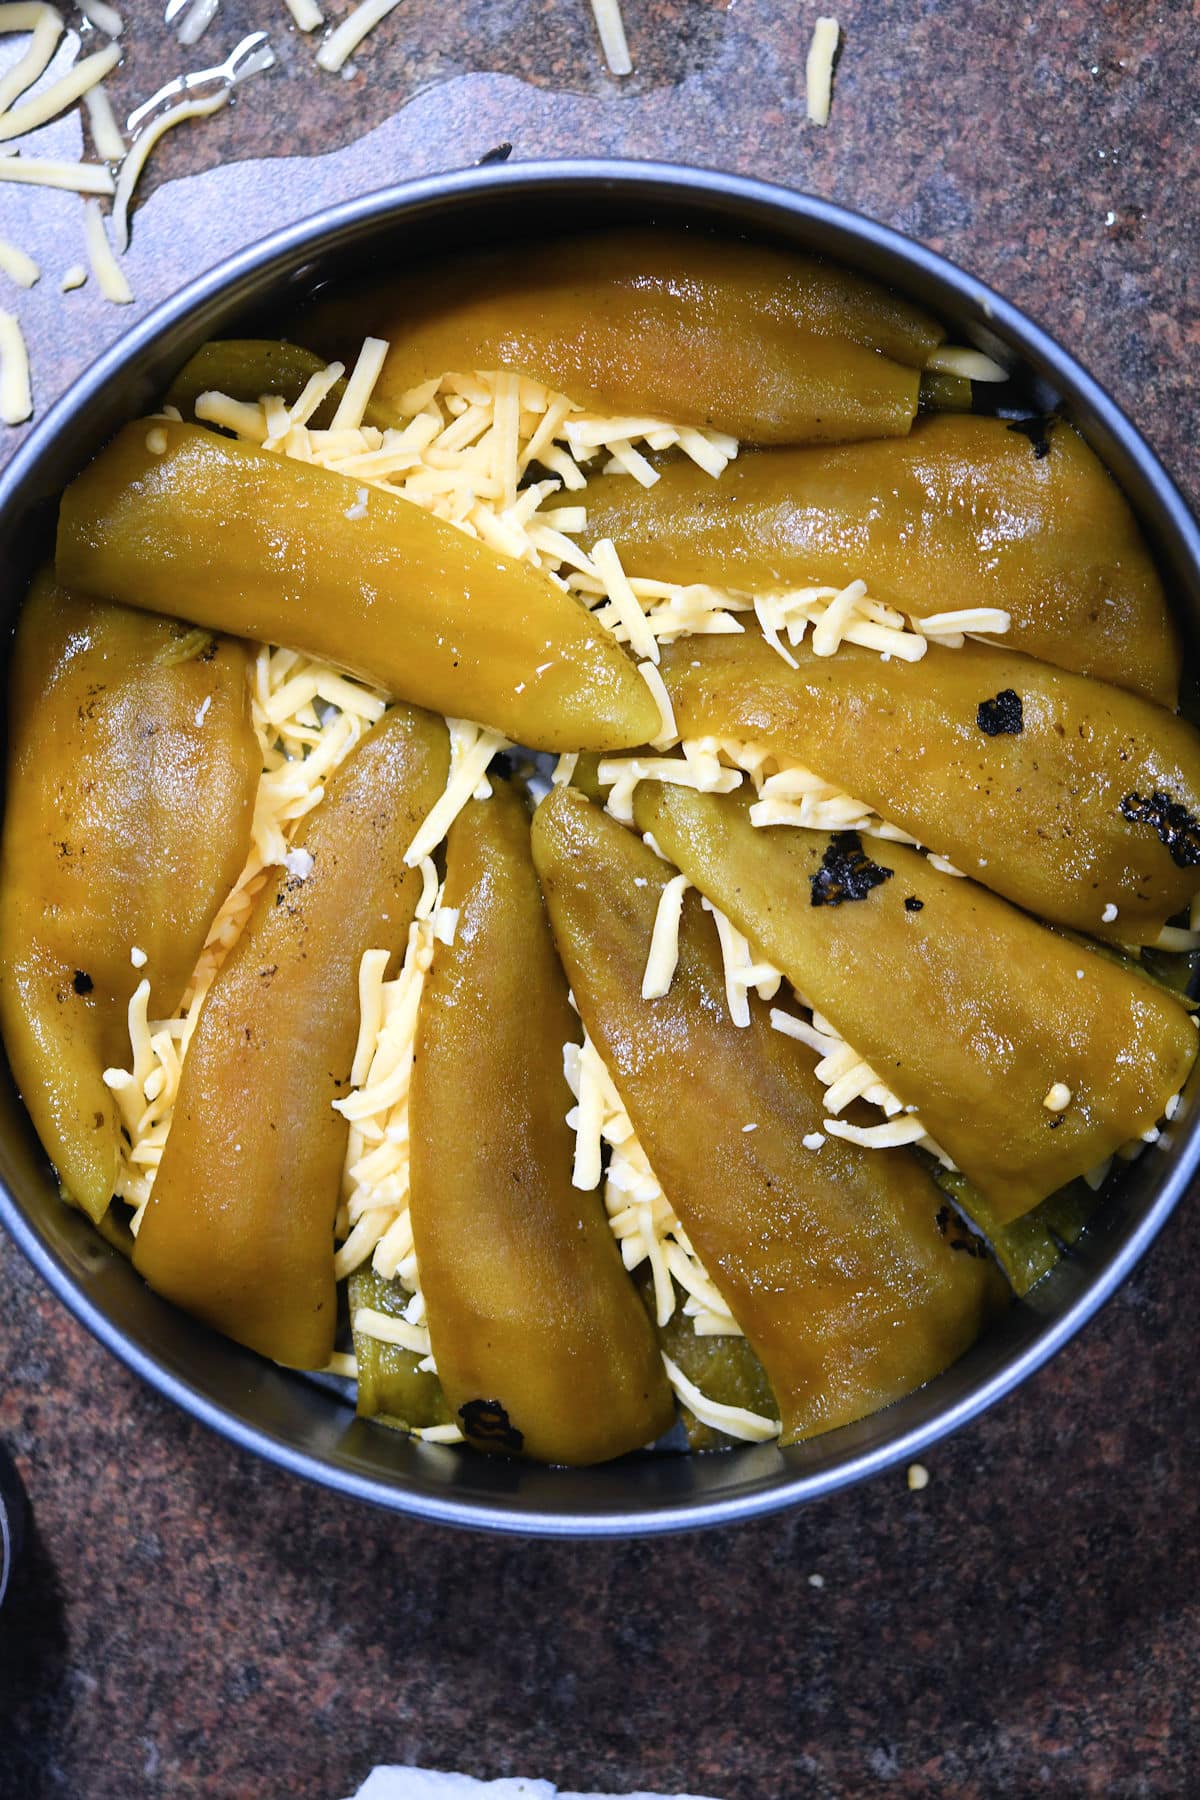
- Place about two tablespoons Monterey Jack cheese inside a chile and fold it over. It doesn't need to be perfect, then place green chile in pan. Continue with all the chiles until the bottom is covered.
- Evenly distribute the crumbled queso fresco over the filled chiles.
- Separate the eggs, yolk from white, into two separate bowls. If you have a standing mixer, place the whites in the mixing bowl and begin mixing on high speed. It will take a couple of minutes to reach stiff peaks. You can proceed with the next instruction while it's mixing or, if using a hand mixer, you'll need to wait until finished before continuing.
- Place egg yolks in medium mixing bowl. Whisk lightly. Add flour and whisk well. Add milk, ½ cup at a time until thoroughly mixed.
- Once egg whites have reached stiff peaks, gently fold in the milk mixture until incorporated without large white spots.
- Pour egg mixture over prepared chiles.
- Cover top and bottom (if using springform pan) with foil. Place in center of oven and bake for 55-65 minutes in springform pan or about 40-55 minutes in rectangle baking dish, or until a toothpick in the center comes out clean.
- Remove foil. Turn oven to Broil and place under broiler for 3-5 minutes to give some color to the top.
- Allow to cool on a metal rack for at least 20 minutes for slicing. When ready to serve, slip a butter knife around the entire outside to carefully remove from the sides of the pan before lifting.
Note: If there is a video, it will not display while there is an adblocker.
Notes
Percent Daily Values are based on a 2000 calorie diet. All amounts are estimates and 24Bite® takes no responsibility for actual figures since calculations vary by packaging and supplier. Please calculate the amounts yourself based on package labeling if you have specific dietary requirements. 24Bite®, Kim Guzman or Christian Guzman shall not be liable for adverse reactions or any other outcome resulting from the use of recipes or recommendations on this website or actions you take as a result.
© 2019-2025 Kim Guzman and Christian Guzman. All rights reserved. Subscribe to 24Bite email newsletters.
Follow 24Bite:




Laura says
How can I make this vegan?
Christian Guzman says
I’ve never tried to make it vegan so you’ll probably need to experiment. The cheese should be fairly easy since vegan cheese is now available. The egg and milk mixture could possibly be made with plant-based milk and a product called “Just Egg” or aquafaba. If you try it, please let me know how it goes. Thank you for writing!